So, you've finally got your hands on a beautiful set of Luxy Hair extensions, but have no idea how to clip and blend them in. If you’re looking for a comprehensive guide on how to clip in your hair extensions, you’ve come to the right place.
We have created a step by step video with instructions on how to clip in Luxy Hair extensions. If this is your first time wearing hair extensions, you will find this guide especially helpful in understanding the placement of each weft and how to style the extensions to blend seamlessly with your natural hair.
It’s common for a lot of girls and women to get nervous or unsure when it comes to hair extensions, because not a lot of people are familiar with them. But after reading this post and watching the video, you will see for yourself how truly easy it is to transform your hair into long, voluminous locks in just minutes, without any damage to your hair. Doesn’t that sound lovely? Let’s get started. Watch the video now, or scroll down for text instructions:
The tools you will need:
- Your full set of clip-in hair extensions
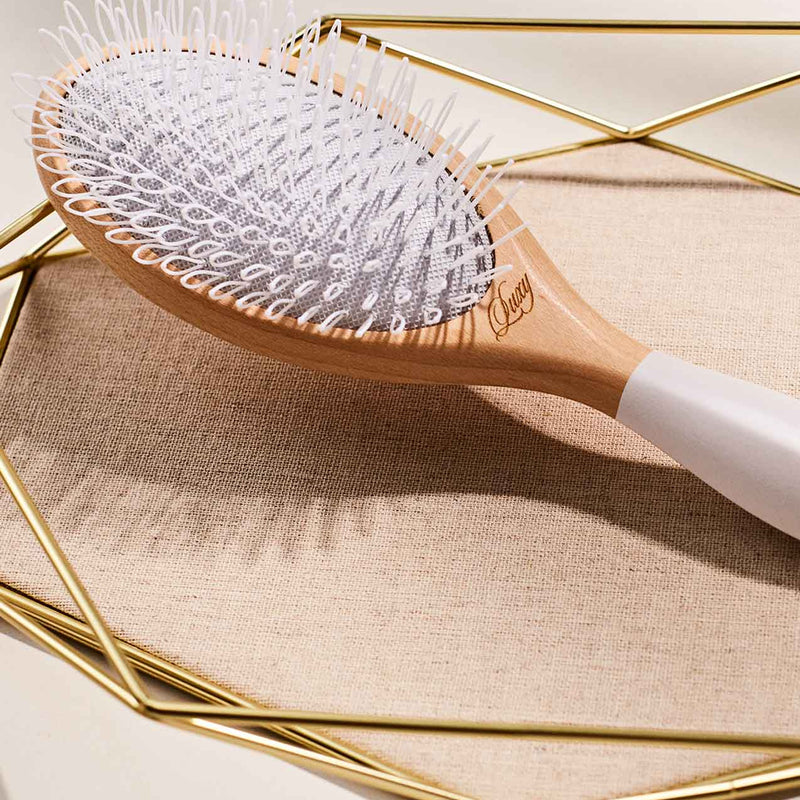
- Loop Hair Extensions Brush or soft paddle brush
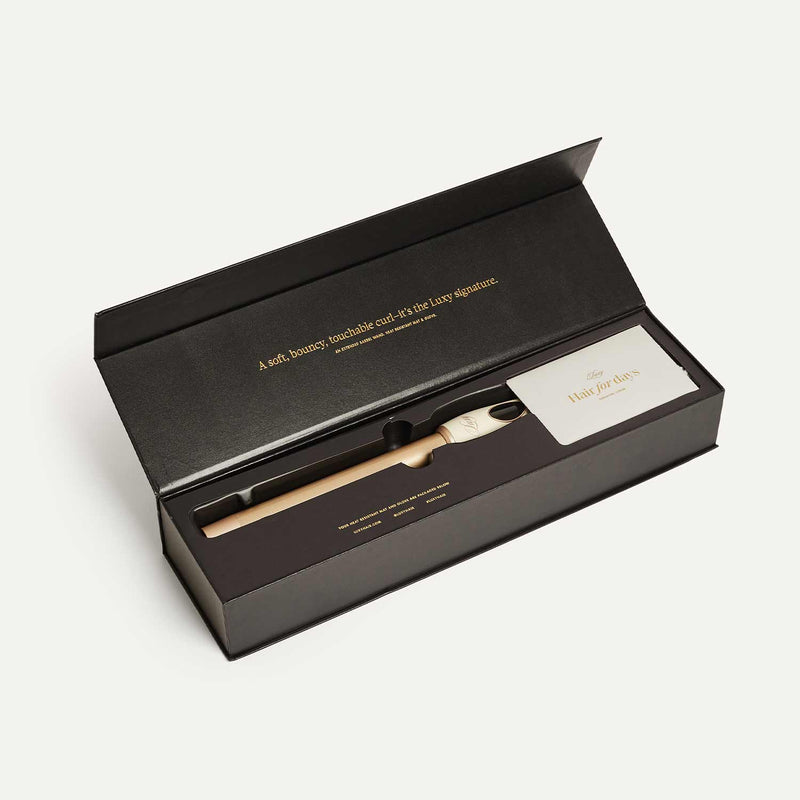
- Luxy Hair Signature Curler
- Deluxe Hair Extensions Styler
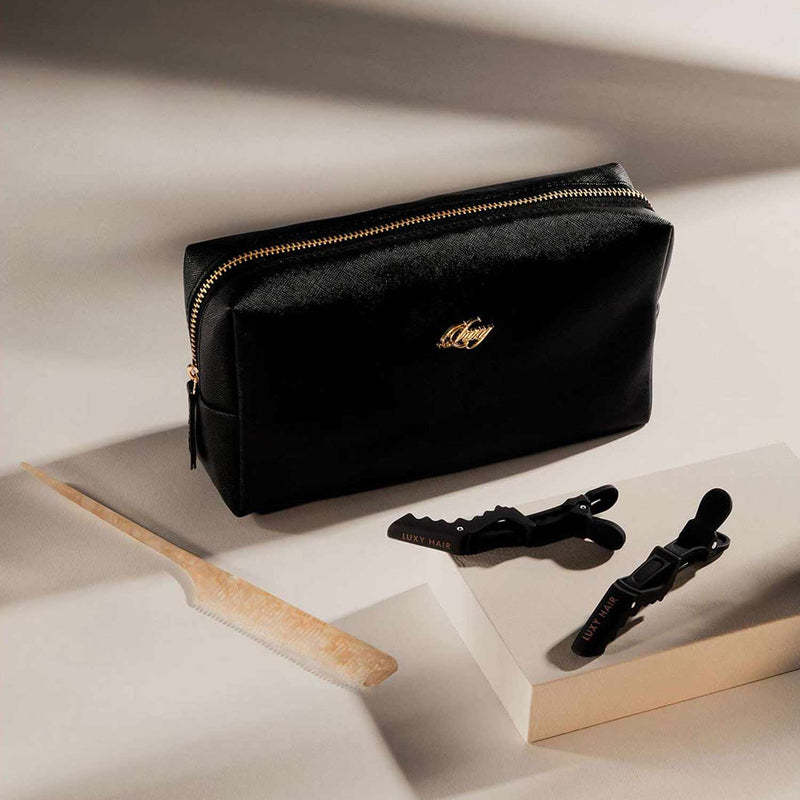
- Application Kit or clip and rattail comb
- Mirror
One of the best features about Luxy Hair extensions is the sturdy and secure clips. Each clip has a silicone grip which helps the weft to securely and tightly attach to the hair without falling out. All you have to do is click to open and click back to close.
With clip in hair extensions, there is no commitment as there is with other types of hair extensions that are taped, bonded, or glued to the hair. You can clip them in and out whenever you like, going from short hair to long hair whenever you feel like it.
How to clip in hair extensions
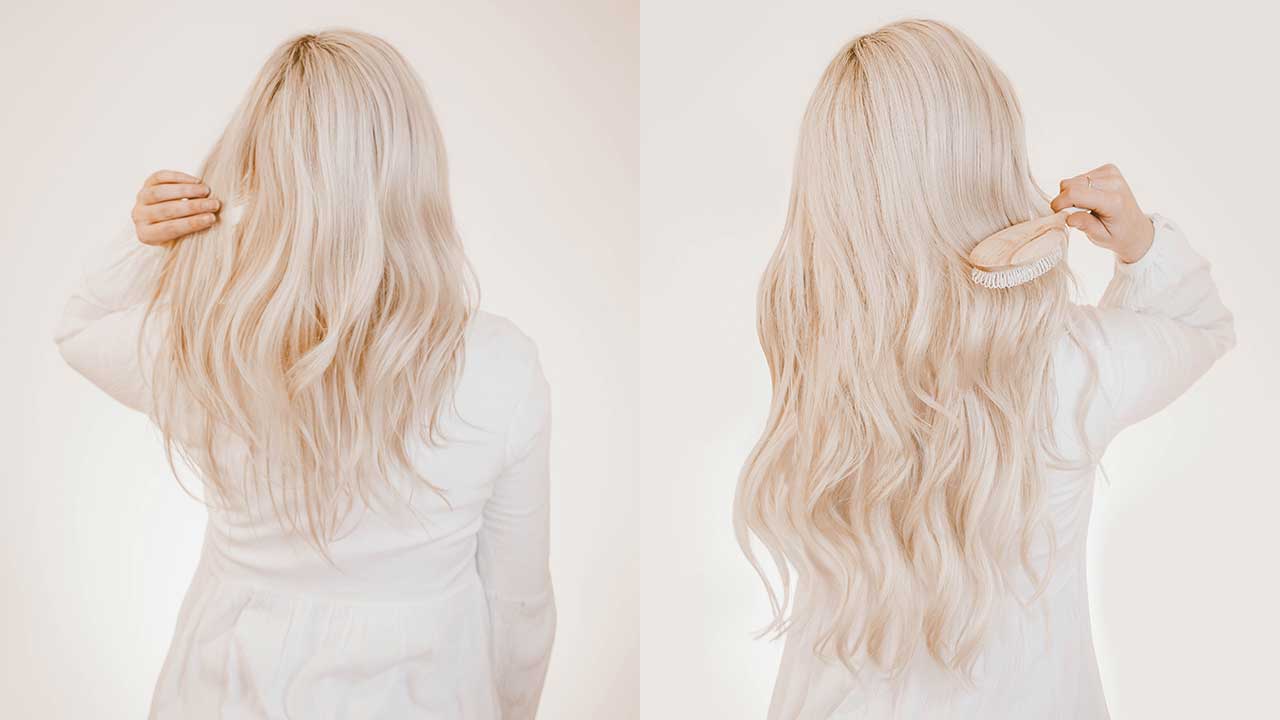
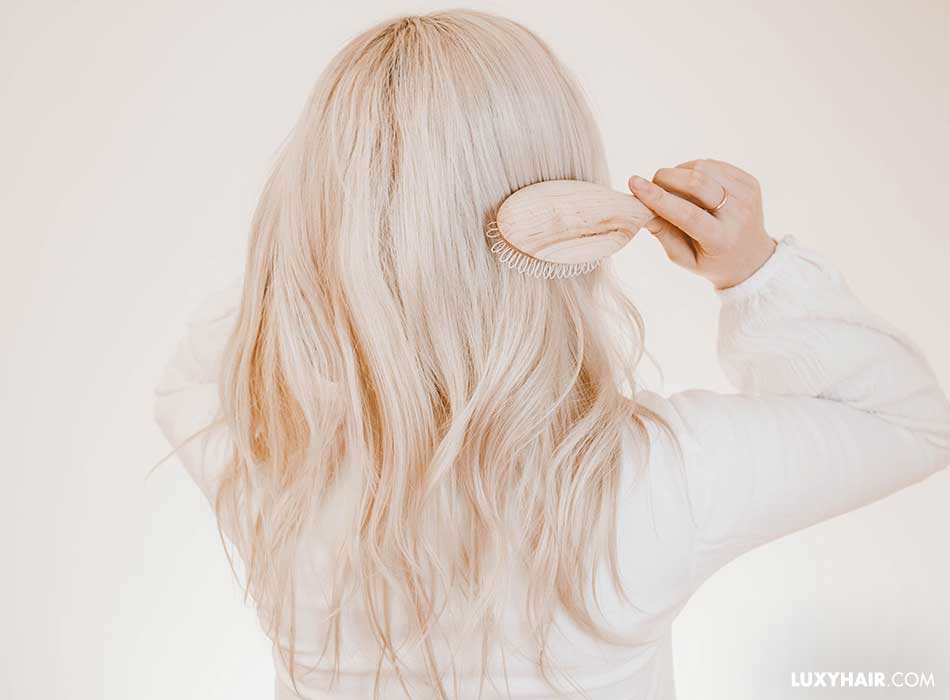
Step 1: Brush your hair
Start off by brushing your own hair thoroughly using a soft paddle brush or Luxy Hair Loop Extensions brush to get rid of any tangles.
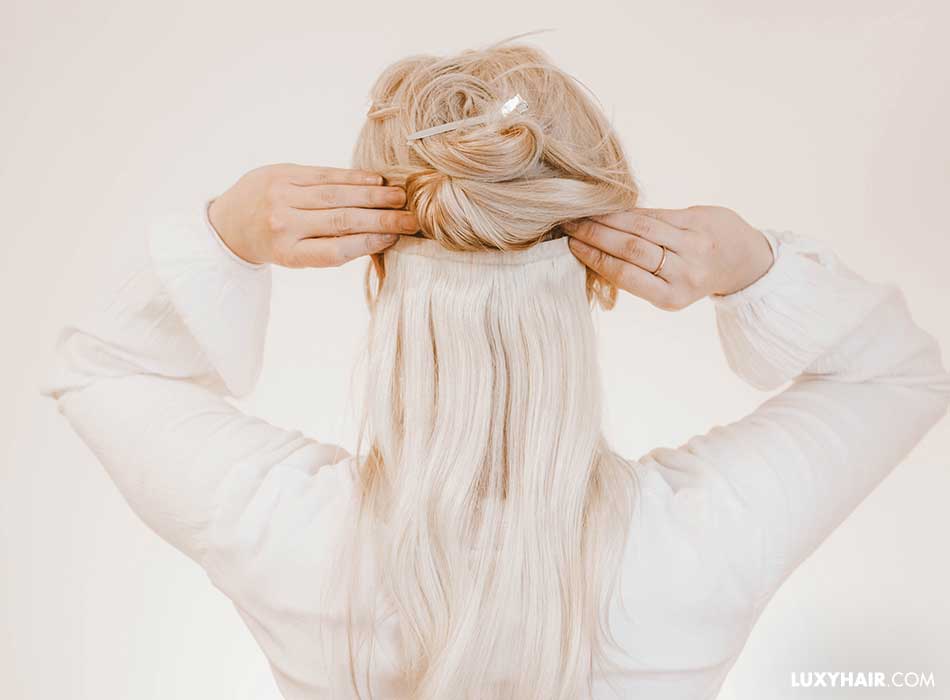
Step 2: Start with a 3 clip weft
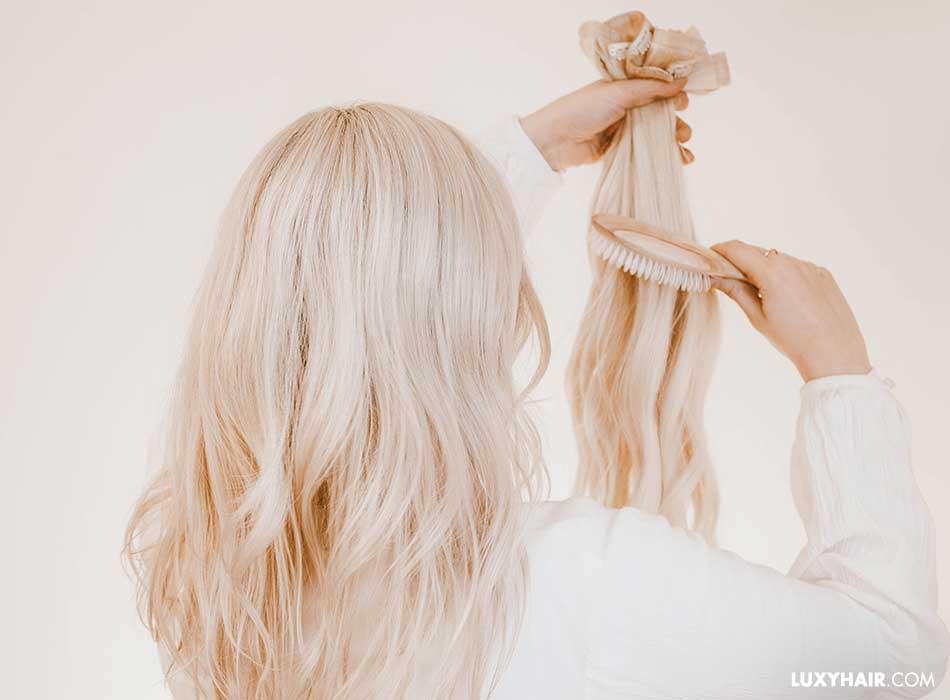
Separate a straight thin section of hair with your finger or a comb at the nape of your neck and clip the rest of your hair away by using a hair clip. Take a 3 clip weft and brush it out before clipping it into your hair. Start from the bottom and work your way up the weft to remove any tangles.
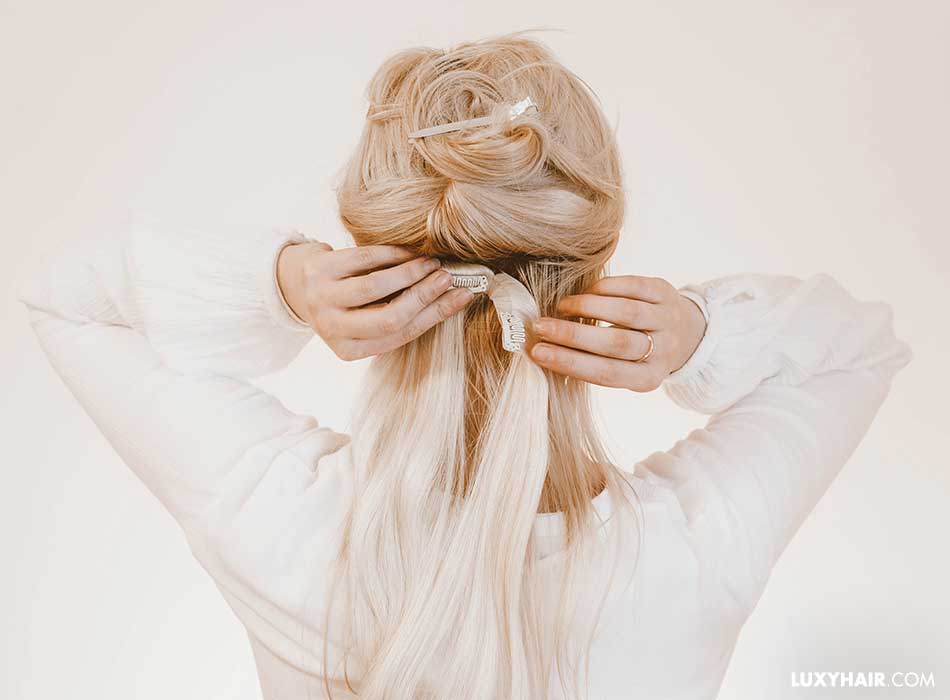
Measure the weft against your head to ensure its size will fit perfectly into the sectioned hair. Then, find the centre of your head and clip in the middle clip into the roots of your hair—be sure to clip as close to the roots as possible. To make it easier and to prevent the clip from sliding down too far, try pulling that section slightly away from your scalp to have some leverage, or simply tease it to create a more secure base. Once the middle clip has been clipped in, clip the left side and then the right, pulling the weft taught. The same process will apply for every weft.
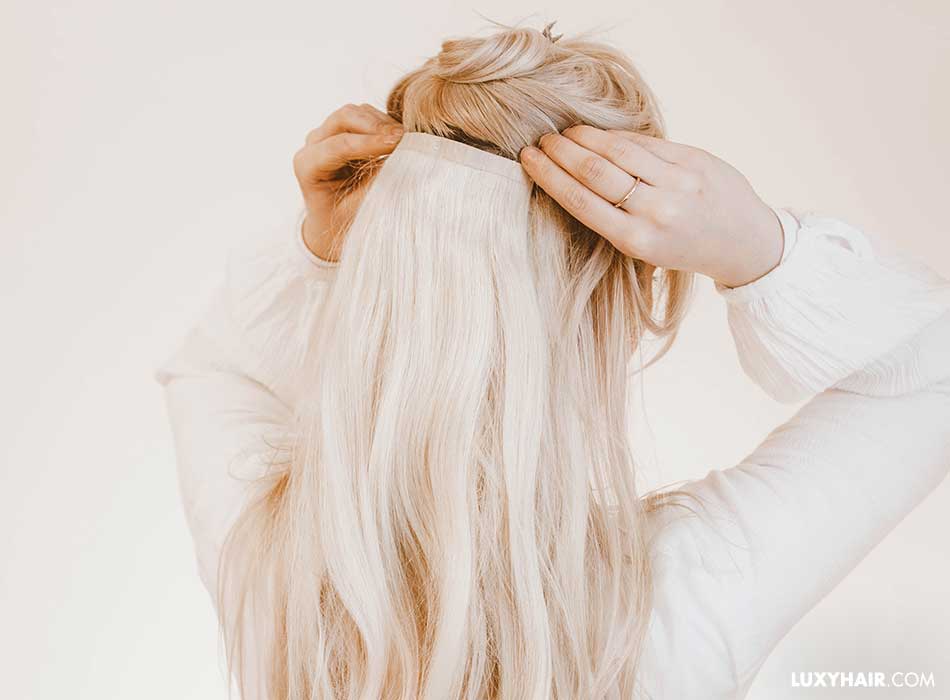
Step 3: Take a smaller 4 clip weft
Separate a straight thin section of hair about an inch above the first clipped weft, and secure the rest of the hair away with a hair clip. This section should be at about the top of your ears. Take the smaller 4 clip weft (7"). Brush it from the bottom up to make sure there aren’t any knots, then measure the weft against the sectioned portion to make sure it will fit perfectly on your head.
Find the centre of your head and clip in the middle two clips into the roots of your hair first, and then follow by clipping in the side clips. Make sure there are no bumps in the weft by slightly stretching the weft to the sides when you’re clipping in the middle clips.
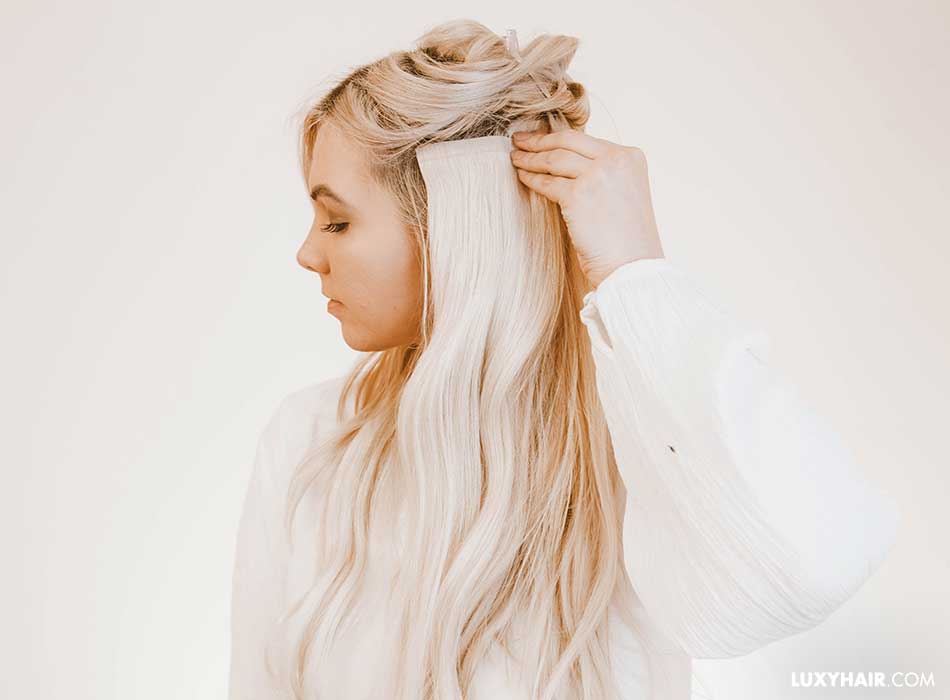
Step 4: Take a larger 4 clip weft
Separate a straight thin section of hair about an inch above the second clipped in weft, and clip away the rest of the hair. This section should be at the widest part of your head.
Take the largest 4 clip weft (8"). Brush it out and measure it against your head to make sure it fits. Clip in the middle two clips in the middle of the sectioned hair and continue by clipping in the side clips.
If you are using the 20" 120 gram set or the 16" 140g set, simply omit this step and continue onto the next step using the second 3 clip weft.

Step 5: Take the second 3 clip weft
Separate a straight thin section of hair about two inches below the crown of your head and clip the rest of the hair away with a clip.
Take the second 3 clip weft. As usual, brush it out carefully and measure against your head to make sure it will fit perfectly. Find the centre of your head and clip in the middle clip into the roots of your hair first, followed by the side clips. Now, all the large wefts at the back of your head have been clipped in, and only small ones should be left.
Step 6: Take the 2 clip wefts
These are the wefts that go on the sides of your hair. They will add volume on the sides and make your hair in the front blends in seamlessly with the longer extensions.
Separate a straight thin section of hair about two inches above the ear on the side, and clip the rest of the hair away. Take a 2 clip weft and secure the clip closest to your hairline first. Then secure the second clip closer to the back of your head.
Repeat on the other side.
Step 7: Take the 1 clip wefts
Separate a section of hair right above the 2 clip weft and clip the rest of the hair away. Brush out two 1 clip wefts and clip them in onto a small piece of hair as close to the roots as possible, above the 2 clip weft or anywhere where you feel needs more blending.

Repeat the same process on the other side of your head.
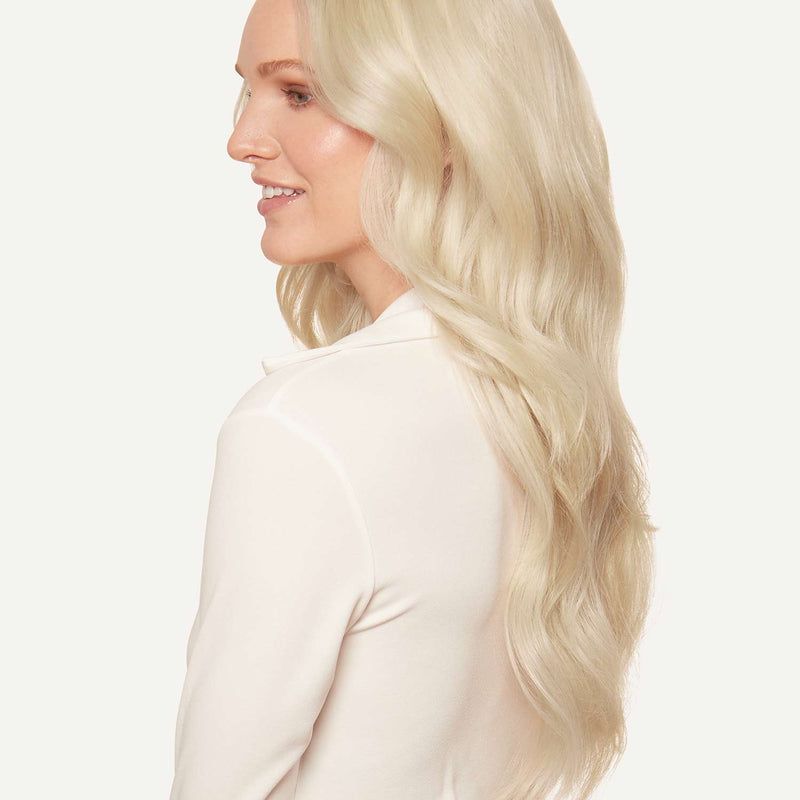
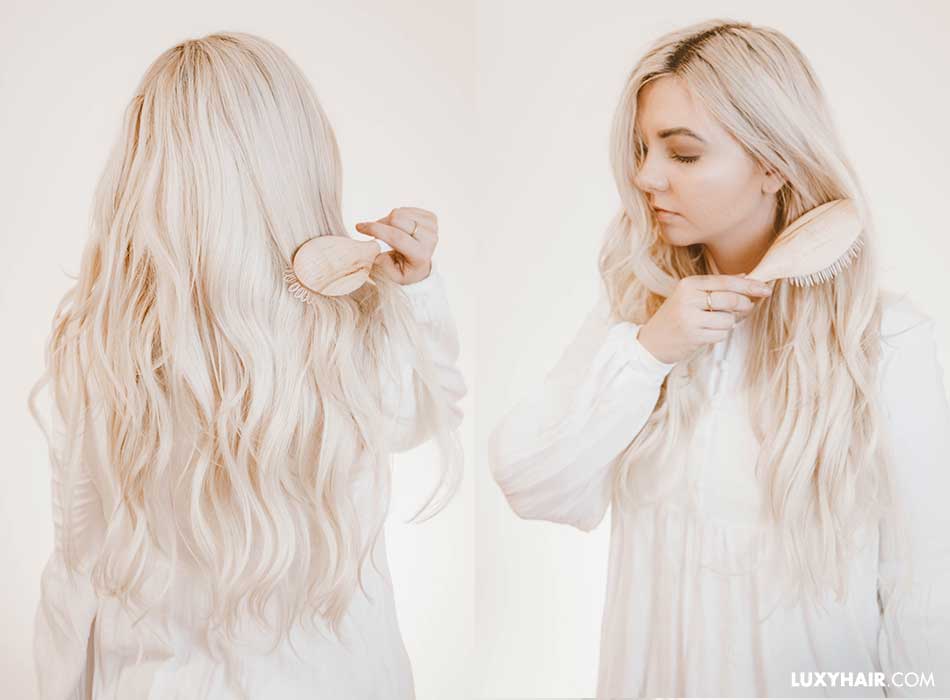
Brush your hair and check in the mirror to make sure that all the wefts are hidden, especially in the back, adjust if necessary, and show off your brand new long, voluminous hair!
When brushing your hair with hair extensions clipped in, be sure to use a Luxy Hair Loop Extensions Hair brush, as the unique nylon looped bristles will not pull or tug at the base of the wefts. Instead, they glide right over the roots, reducing damage to your hair and wefts.
Remember, just like anything else, it will take a little bit of practice to clip in and blend your Luxies fast, but once you get a hang of it, it will take only a few minutes!
How to blend hair extensions with short hair or thin hair
If you have short hair, check out this tutorial on how to clip in extensions with short hair. Or, check our our shorter 16" collection for easier blending with short hair. If you have thin hair, be sure to check out these tips on how to blend hair extensions with thin hair.