Ariel is that you? The little mermaid just got a new look in 2021- we’re talking longer locks and beachy waves! If you’re on Instagram or TikTok you might have noticed the Kardashians' new hairstyle that includes longer hair and barely-there waves that are definitely making you question — can I keep up? Luckily, Luxy has the hair care tools you need to recreate mermaid waves hairstyle for summer!
Whether your summer plans include a beach or not, this mermaid waves hairstyle is this summer's must-try hair trend and we have the 6 easy steps on how to achieve it!
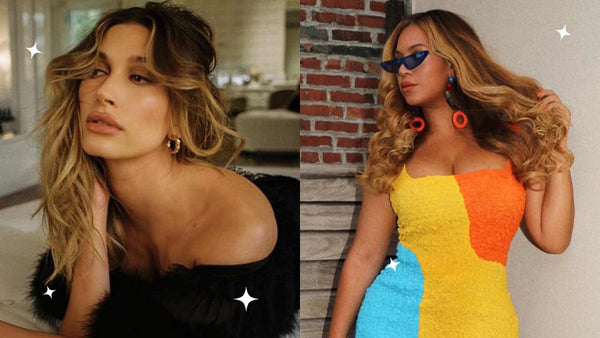
It’s no secret that the Kardashians are major trendsetters on social media and their beauty looks are quickly imitated by all your favourite influencers. We’ve seen this trendy summer look on some of our favourite faces like; Hailey Bieber, Kylie Jenner, Desi Perkins, J-Lo and so many more! This look has taken over our Instagram feeds and we needed to know more!
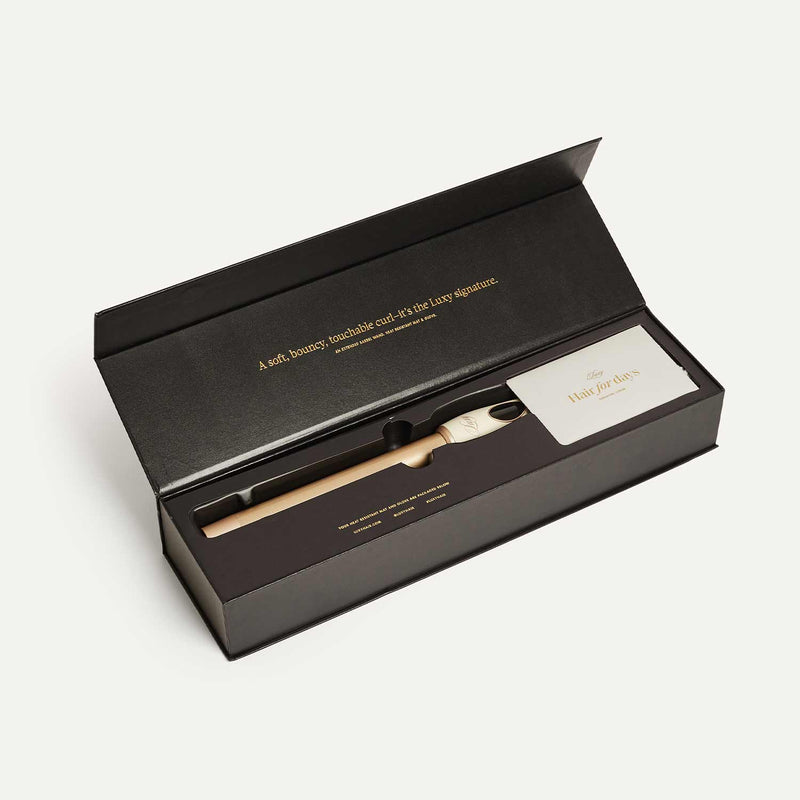
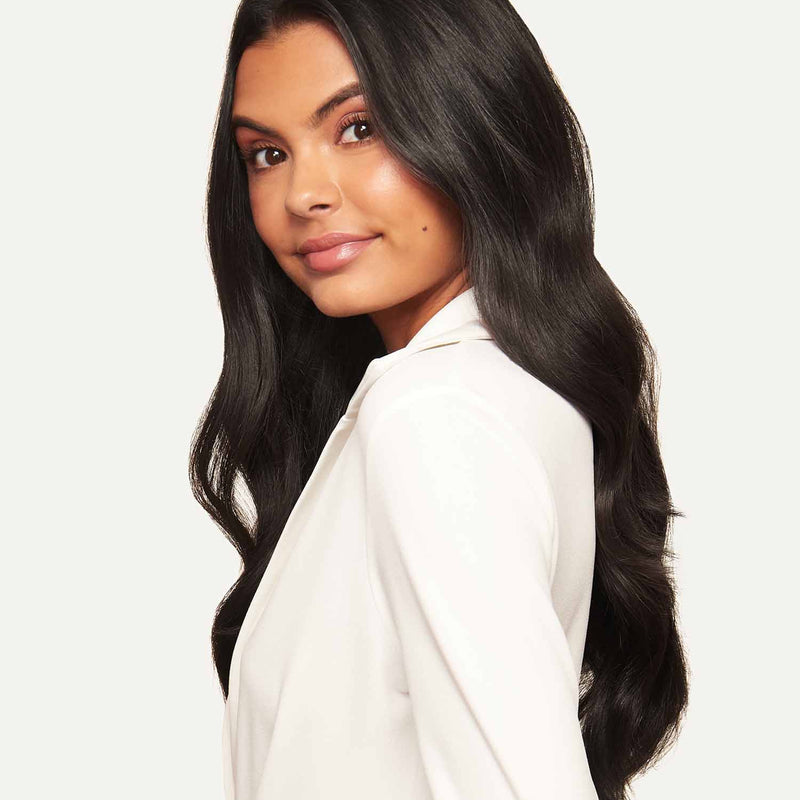
This mermaid waves hairstyle is all about sleek, smooth waves that give an effortlessly beachy vibe without the frizz. To create this look you’ll need your fav Luxy clip-in extensions and triple-barrel curling iron!
Step 1:
Start with freshly washed hair. You’re going to want to prep your hair to lock in moisture. This summery look is all about texture and making waves, and the key to that is the product you use! It’s important for this look to have no frizz and look super shiny so use products that help with shine and moisture!
We suggest using Kardashian hairstylist Chris Appleton’s favourite products pick, Colour WOW “Cocktail Spray” that locks in moisture, and shine while protecting the hair. After you’ve added moisture into your hair, you’ll want to follow up with a frizz eliminating product, Celebrity Stylist Chris Appleton uses “Dream Coat” by Colour WOW that provides humidity/frizz-free hair and locks in all the shine! Run these products through damp hair before blow-drying.
Step 2:
Eliminating frizz is key to keeping your waves looking on point. In order to keep your hair more modern, ditch the round brush for this look. You’ll want to use a paddle brush to blow dry your hair straight. Split your hair into three sections starting from the neck up and blow-dry each section of your hair. Ensure your roots are straight and frizz-free. Your roots should be straighter to keep this look more modern, and effortless. Added volume at the roots can make your waves look poofy and too voluminous for the style we’re trying to achieve. Follow by prepping your extensions the same way before adding them to your hair.
Step 3:
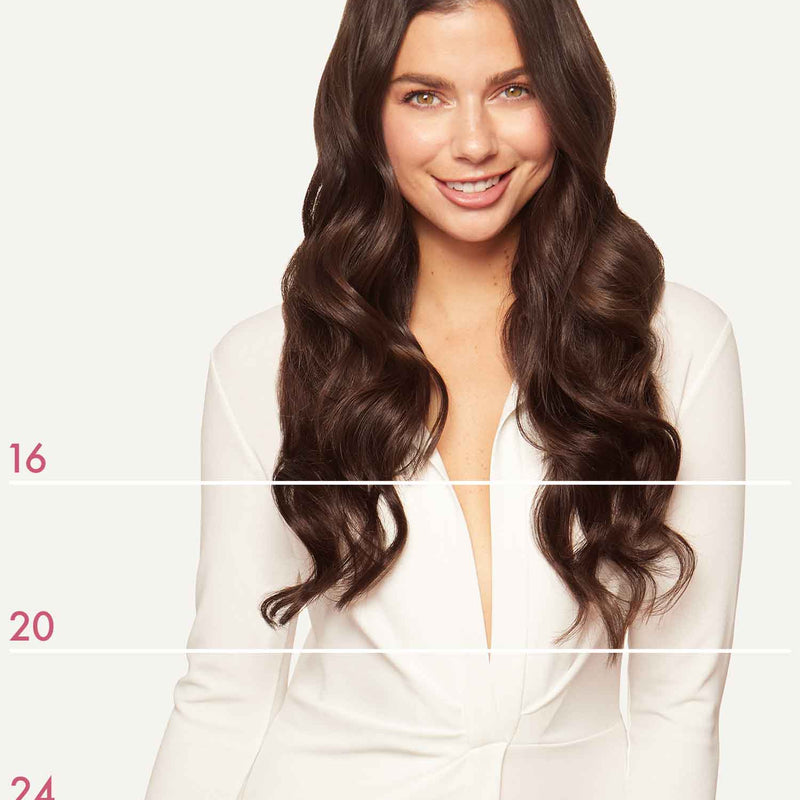
Once your hair has been blow-dried, it’s time to add some length! This particular look is all about longer locks! We recommend using our 24” Classic Clip-in extensions for this look or your favourite lengthening Luxy extensions. You want your extensions to look as natural as possible so blending them is important for this! How to blend your clip-ins here.
Another pro-tip is braiding any baby hairs or shorter pieces of hair you may have around your neck. Kim Kardashian swears by this tip to keep her added hair extensions looking natural and blended. Section your hair below your ears horizontally across your head and create a small braid to the back of your head. Bobby pin your braids into place and add your first clip-in extension over the top. This will hide any shorter pieces that don’t blend with your extensions.
Step 4:
Once your clip-in extensions have been added to your hair, it’s time to style your barely-there mermaid waves in. For this look, you’ll need to use a triple-barrel curling iron. You can use any size you like but we recommend using a larger barrel so that your waves stay loose. Using your triple-barrel wand start about two inches below your root and clamp down on a small section.
Instead of holding your tool in one place, clamp down lightly and rock the triple barrel curler back and forth a few times before moving down your hair. You’ll want to clamp down a little deeper as you move away from your roots and continue rocking the iron back and forth as you move down your hair. This prevents any sharp waves or lines in your hair and keeps the texture more effortless. To achieve a more beachy wave, choose different size sections of your hair, and alternate between these. Remember, it’s important to leave your roots straight to ensure a more modern and relaxed look for your waves.
Step 5:
Continue throughout your entire head, you’ll want to frame your face by leaving the front pieces out. To keep this style cool and relaxed you’re going to want to use a different technique for these pieces. Using a flat iron to wave your front pieces, start by grabbing a piece of your hair and lightly clamping down with your straightener while holding your piece below the iron. Push the flat iron around your hair while moving your hair into the shape of an “S”. As you move down your hair, re-create the “S'' shape over and over. Make sure to keep your clamp light and constantly move the iron not staying in one place too long. This creates a less poofy wave around your face and keeps the look relaxed.
Step 6:
Once your hair has been styled, go through any pieces or roots that look too poofy and use the flat iron technique to ensure a more relaxed look. The key to this style is keeping your hair controlled and not too volumized, so you may need to touch up with the flat iron technique. To keep your hair shiny and controlled, finish with hair oil. Run your fingers through with a hair oil that will lock in moisture, and shine. Hair spray is always great to finish up with. We love a humidity-proof hairspray!
Looking for more hair advice and styling tips? Subscribe to our newsletter to step up your hair game!