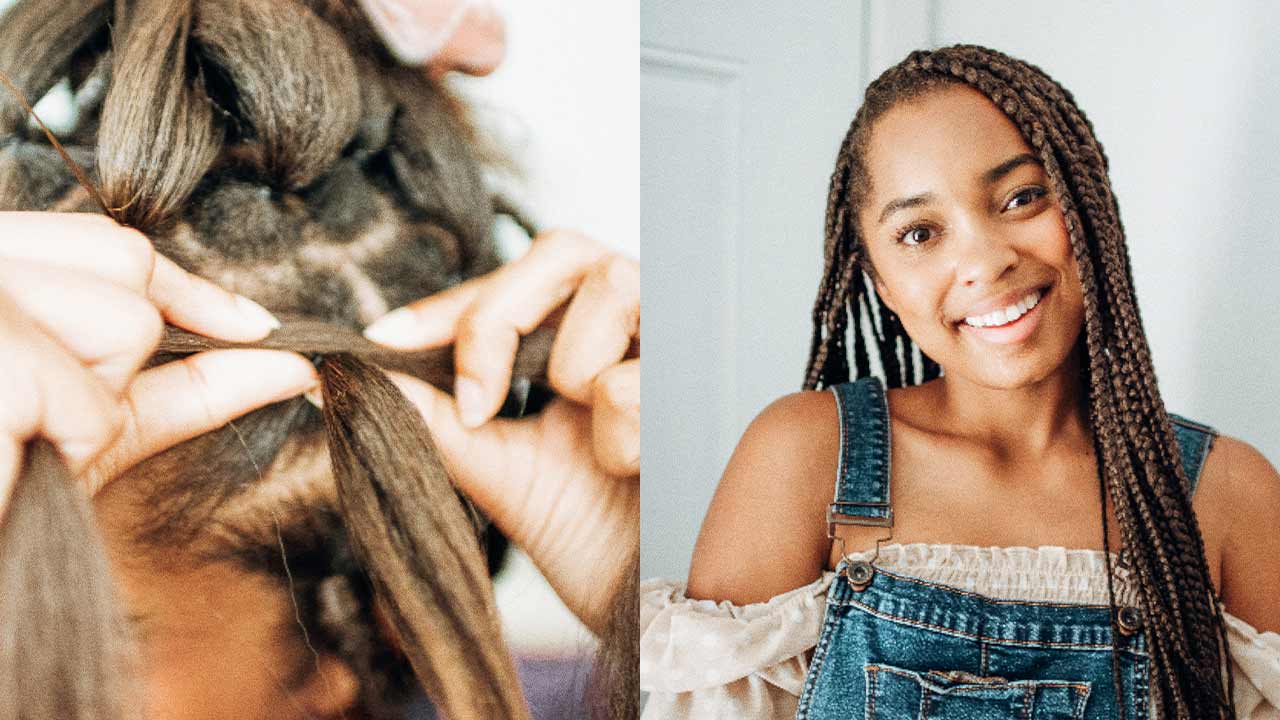
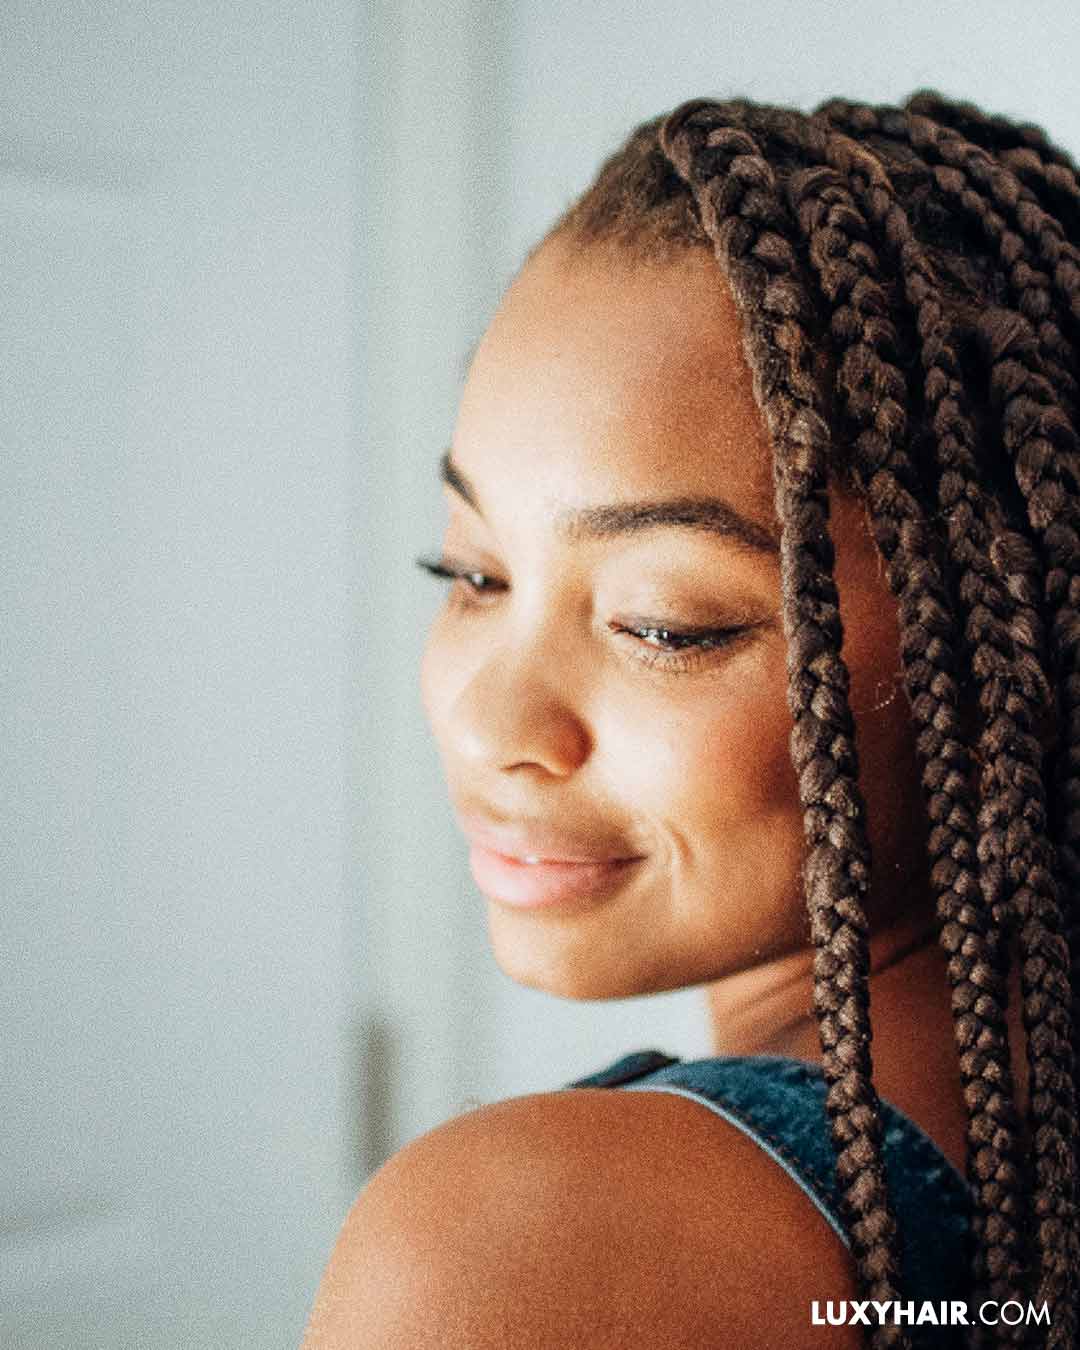
Protective hairstyling is a curly girl’s best friend, especially as the temperatures start to drop. The extreme cold and wind can take a major toll on our delicate strands, so it’s important to keep them moisturized and tucked away. If you’re after a hairstyle that’s protective and stylish, look no further than box braids. The traditional African braid rose to popularity almost three decades ago, defining an era of iconic black television, movies and music. In 2020, celebrities and influencers are bringing back the iconic 90’s style.

What are box braids?
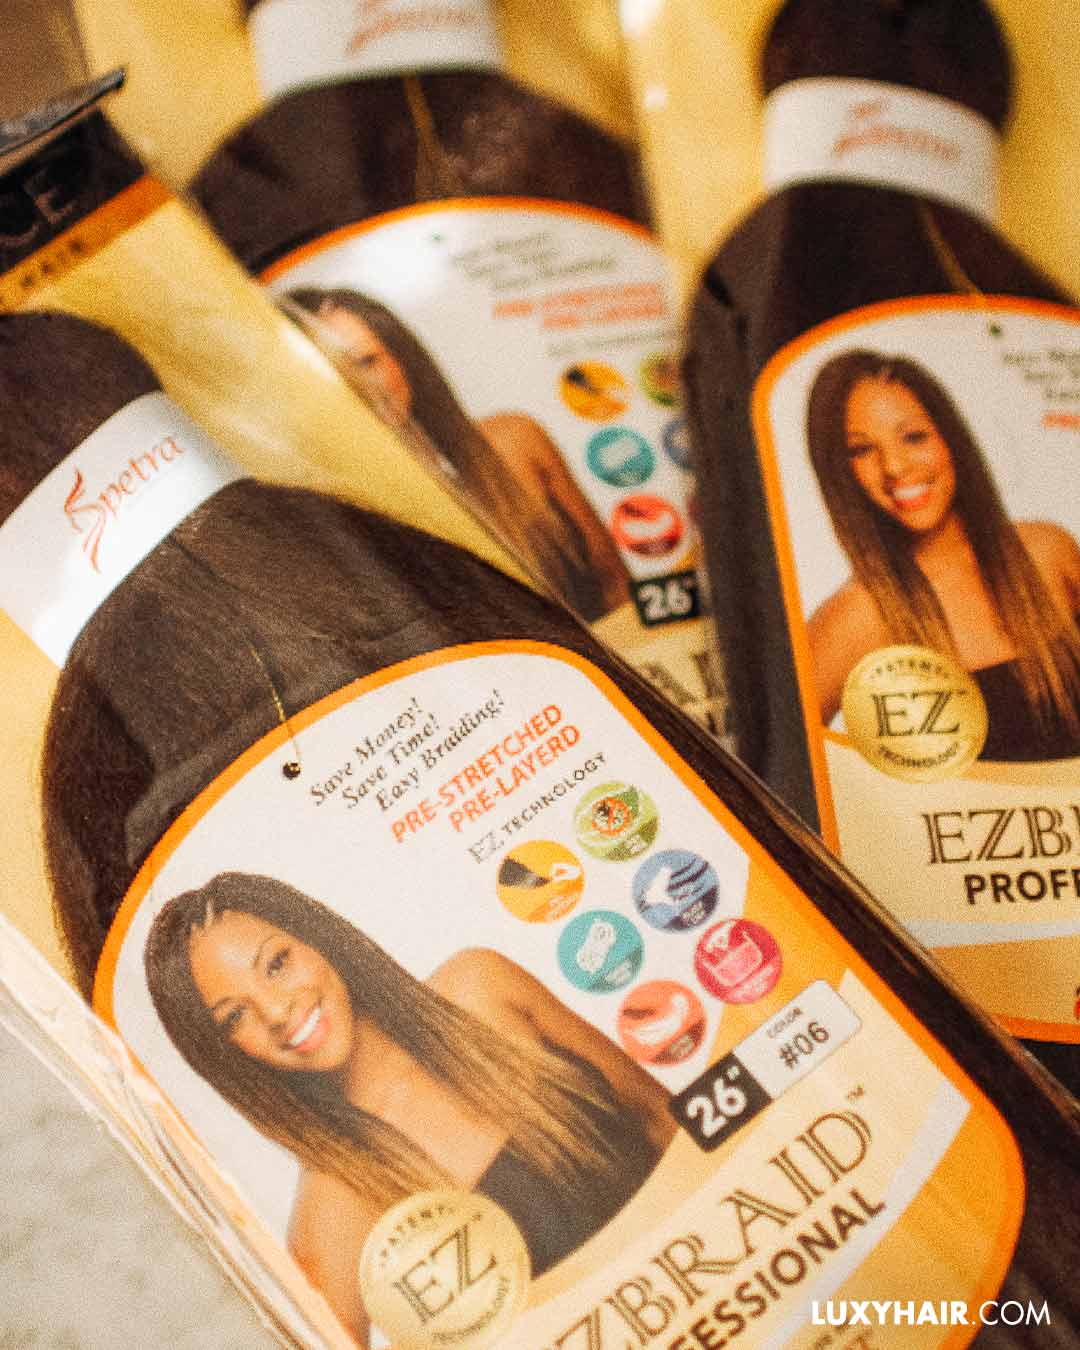
Box braids are plaits or three-strand braids that are divided into square-shaped sections. Unlike cornrows, box braids are not braided flat against the scalp, instead hair is sectioned off into squares (or boxes) all throughout the scalp and gets braided down its entire length. This gives you the option to style your braids as you would your normal hair. They can be done with natural hair or you can add hair extensions for extra length and thickness, or to add a pop of colour. You can use human or synthetic hair to achieve the look.
Knotless braids are a modern adaptation of the classic box braid that give a more natural finish and look more like your own hair. They put less tension on your hair, so they are the better choice for those with sensitive scalps.
Both options are a great protective style because there’s no heat, or constant pulling and tugging, which means your hair won’t have any issues growing. However, box braids can damage your hair if they are installed incorrectly, or left in for too long.
How to prep your hair for box braids
If you’re thinking of getting box braids, there are a few things you should do to prep your hair before installation. It’s very important to make sure that your hair is shampooed, detantangled, deep-conditioned, and trimmed before braided. This will ensure that your hair is healthy and moisturized before going into a long-term style like braids. Box braids can last up to two months, and you can’t remove all the dirt and build-up from your hair or scalp, so starting with clean hair is always best.
Box braids can be pretty pricey. You can expect to spend anywhere from $100-$400 for your box braids (which makes sense since it can take up to eight hours to do). However if you’re not ready to shell out that kind of cash, but still want to try the style, here’s a step by step guide for how you can achieve the style from home.
How to do box braids at home: a step by step guide
Step 1
Wash, deep condition, detangle and blow dry your hair. It’s important to start off with a clean, moisturized base to make sure that this style can hold up. We recommend using a clarifying shampoo like, the Shea Moisture African Black Deep Cleansing Shampoo, to remove product residue and build-up. Always follow up with a good hair mask, we love the Ouidad Curl Recovery Melt-Down Extreme Repair Mask because it hydrates the hair and prevents breakage.
Step 2
Once your hair is all clean, add your favourite leave-in products to ensure your hair is as smooth, hydrated, and easy to work with as possible. We love the Kinky Curly Knot Today Detangler for an extra boost of curl hydration. Before blow-drying, add a thermal protectant like the Olaplex No.7 Bonding Oil, which doesn’t only protect your hair from heat, it repairs it. Finally blow-dry your hair before moving on to braiding.
Step 3
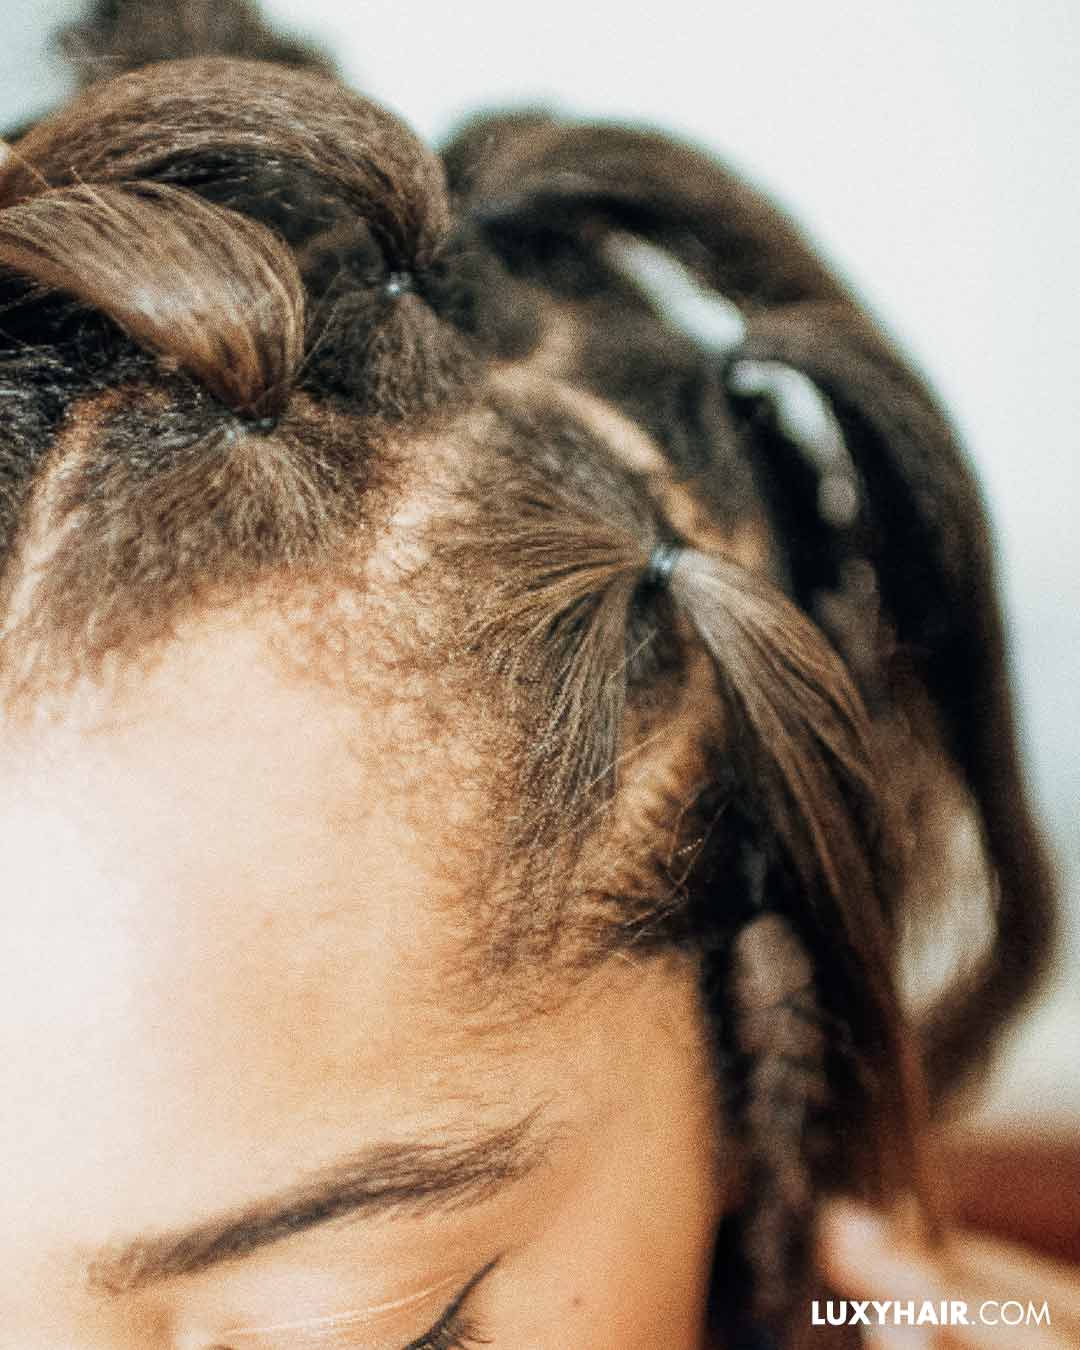
Section off your hair for the braids, and then make smaller sections within the sections. The smaller parts will be the size of your braids, so make them as micro or jumbo as you want. Make sure you use a great precision comb for effortless, clean parts. Mariah suggests using hair bands to section off the hair you’re not braiding and keep it out of the way.
Step 4
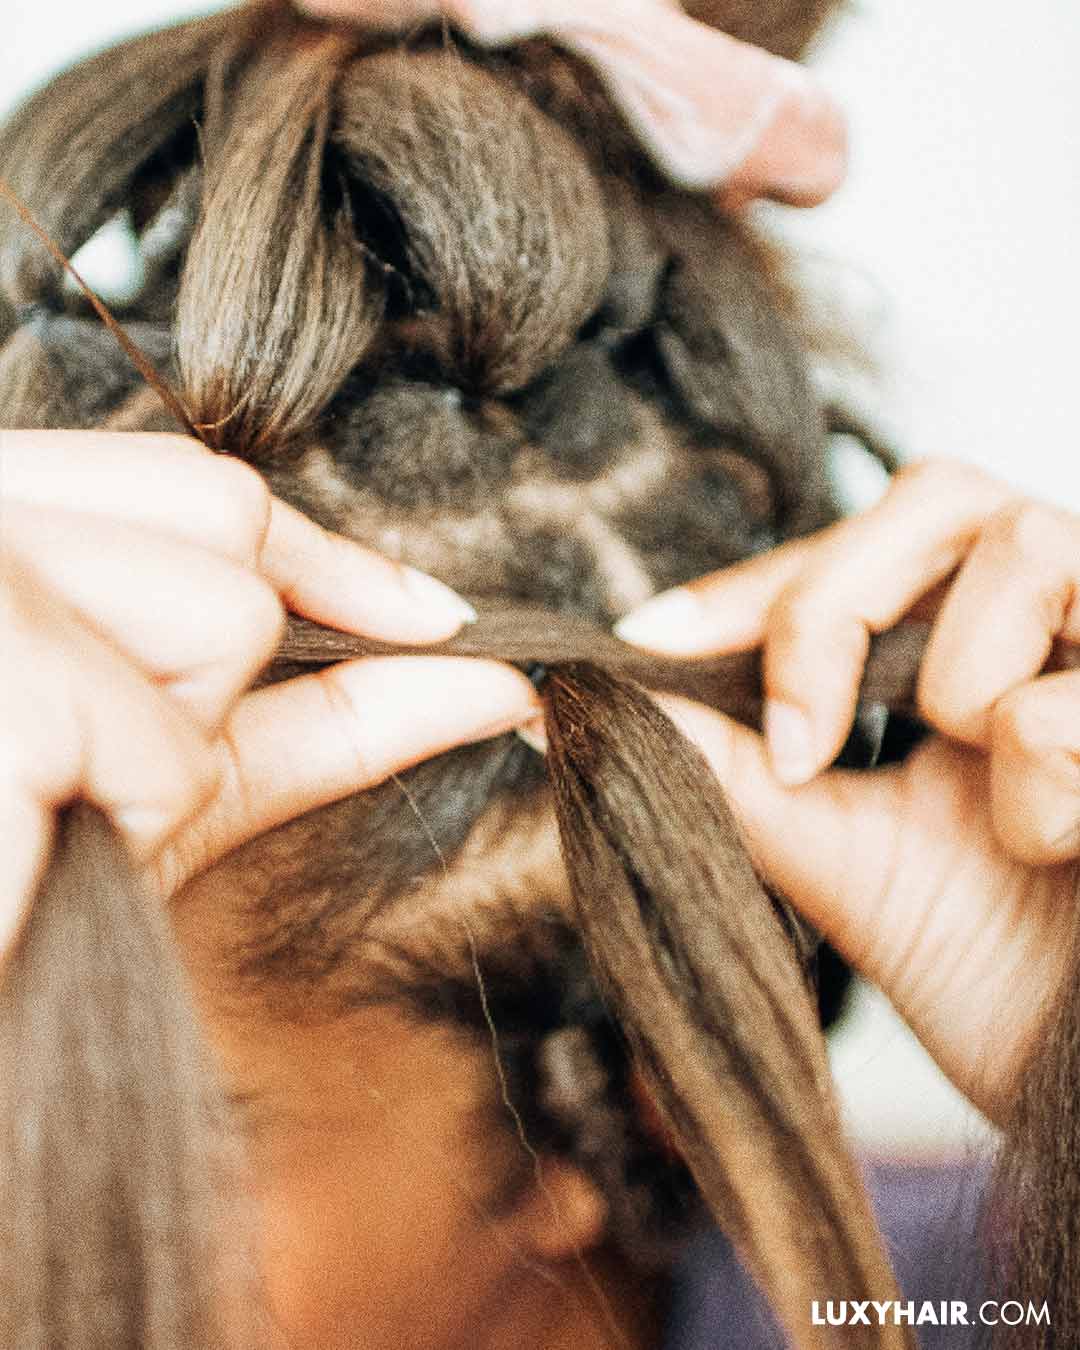
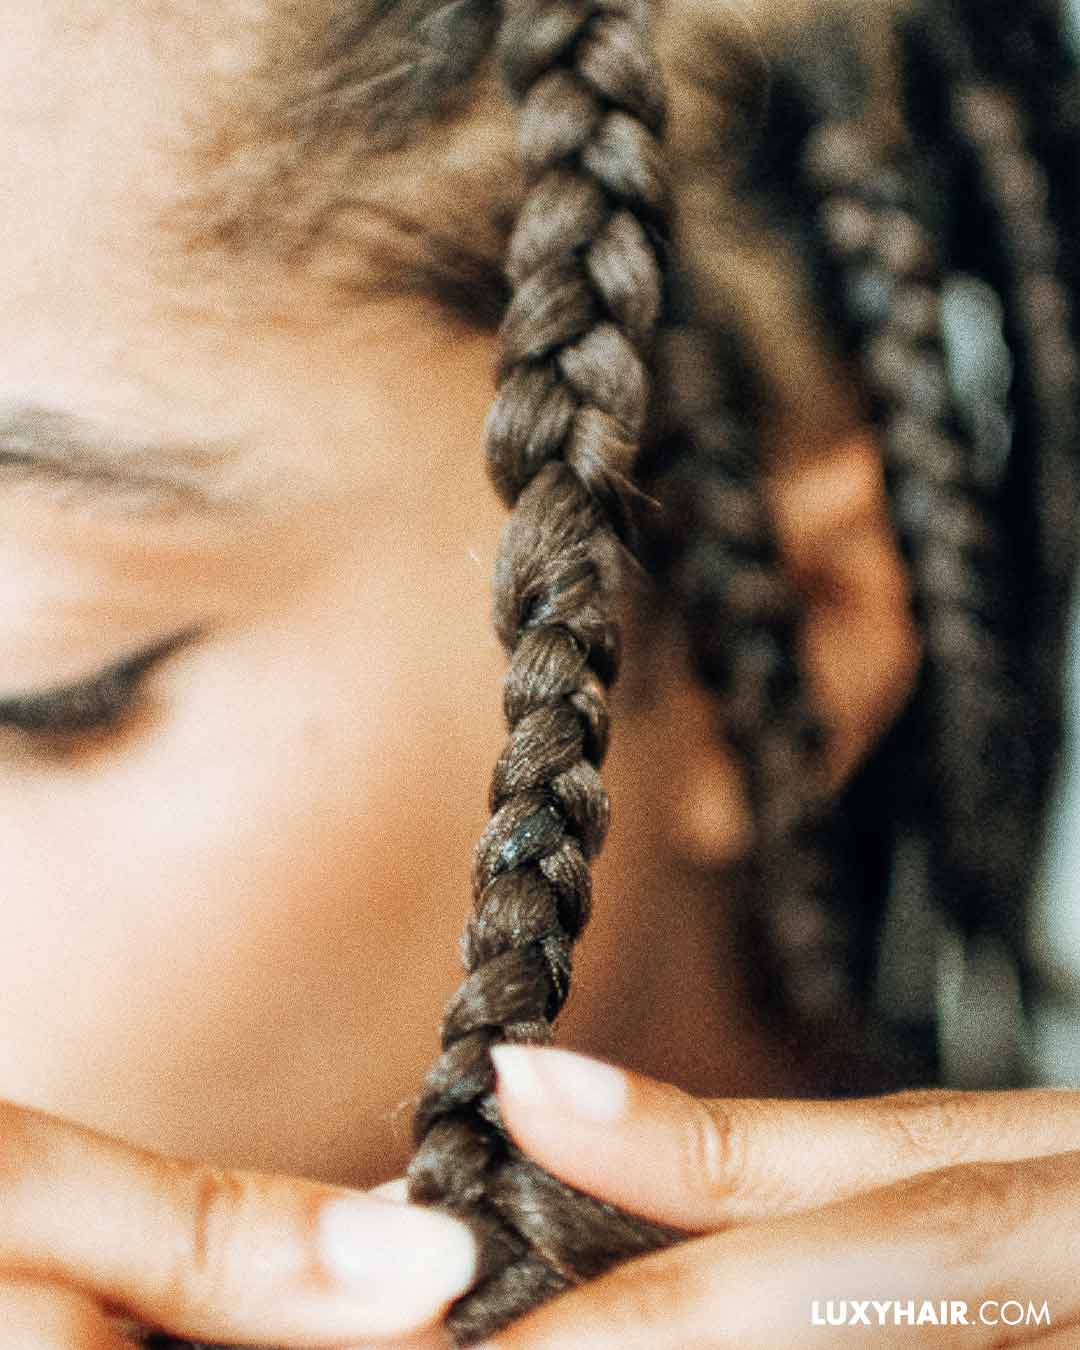
Now for the fun part — braiding your hair. To start, take a piece of braiding hair and place it on top of the sectioned off piece of hair. Start a three strand braid. The three strands are 1) braiding hair 2) your own hair 3) braiding hair.
Step 5
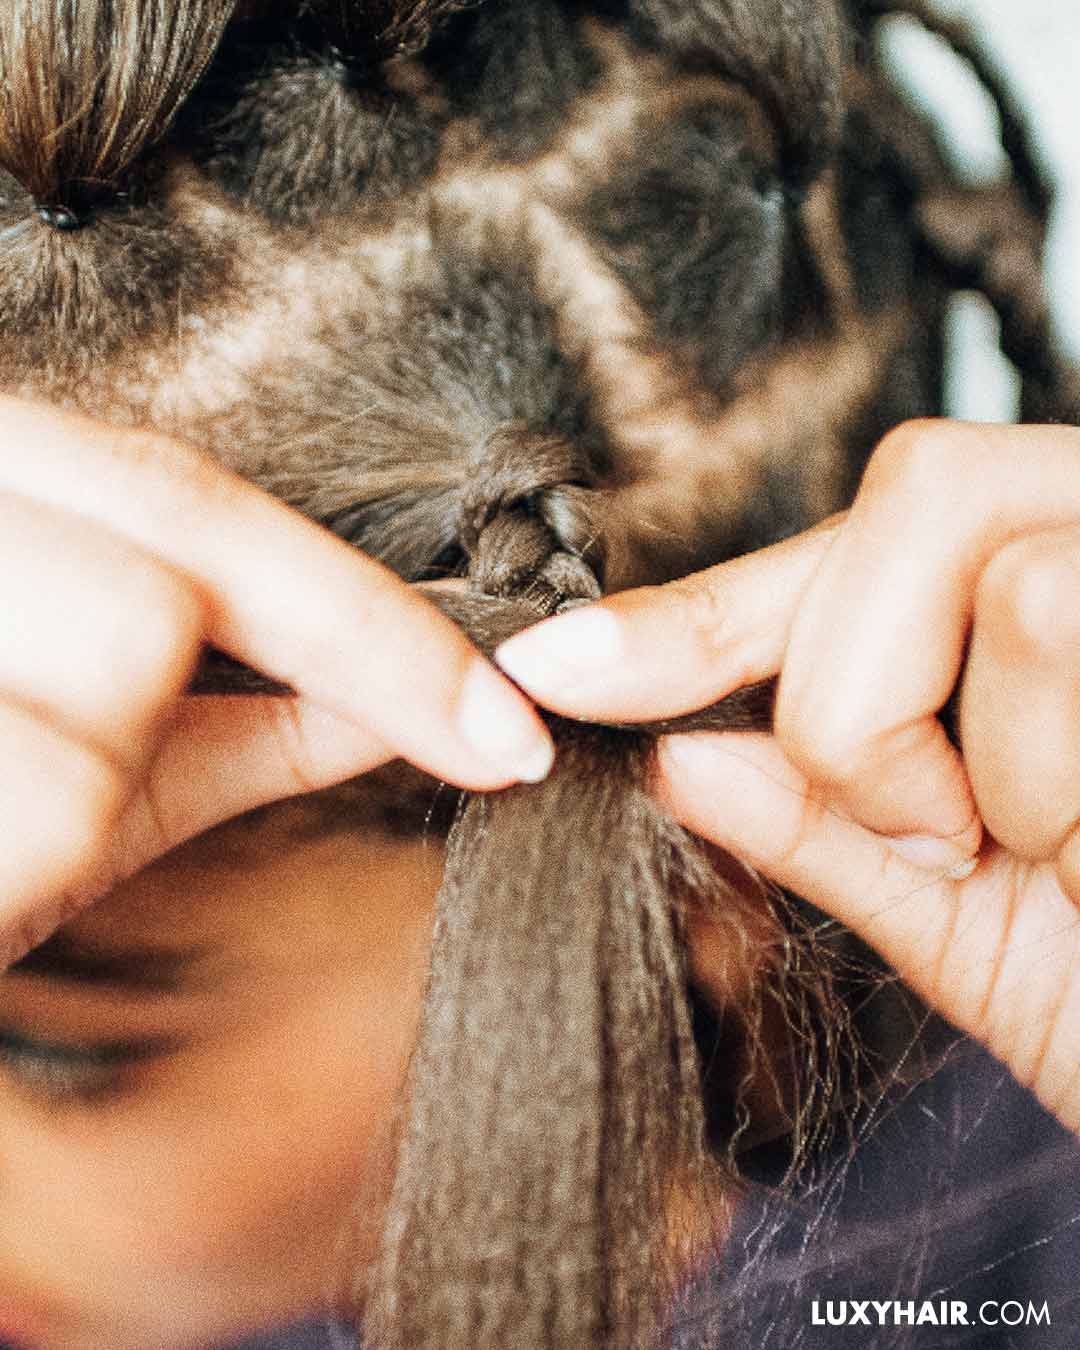
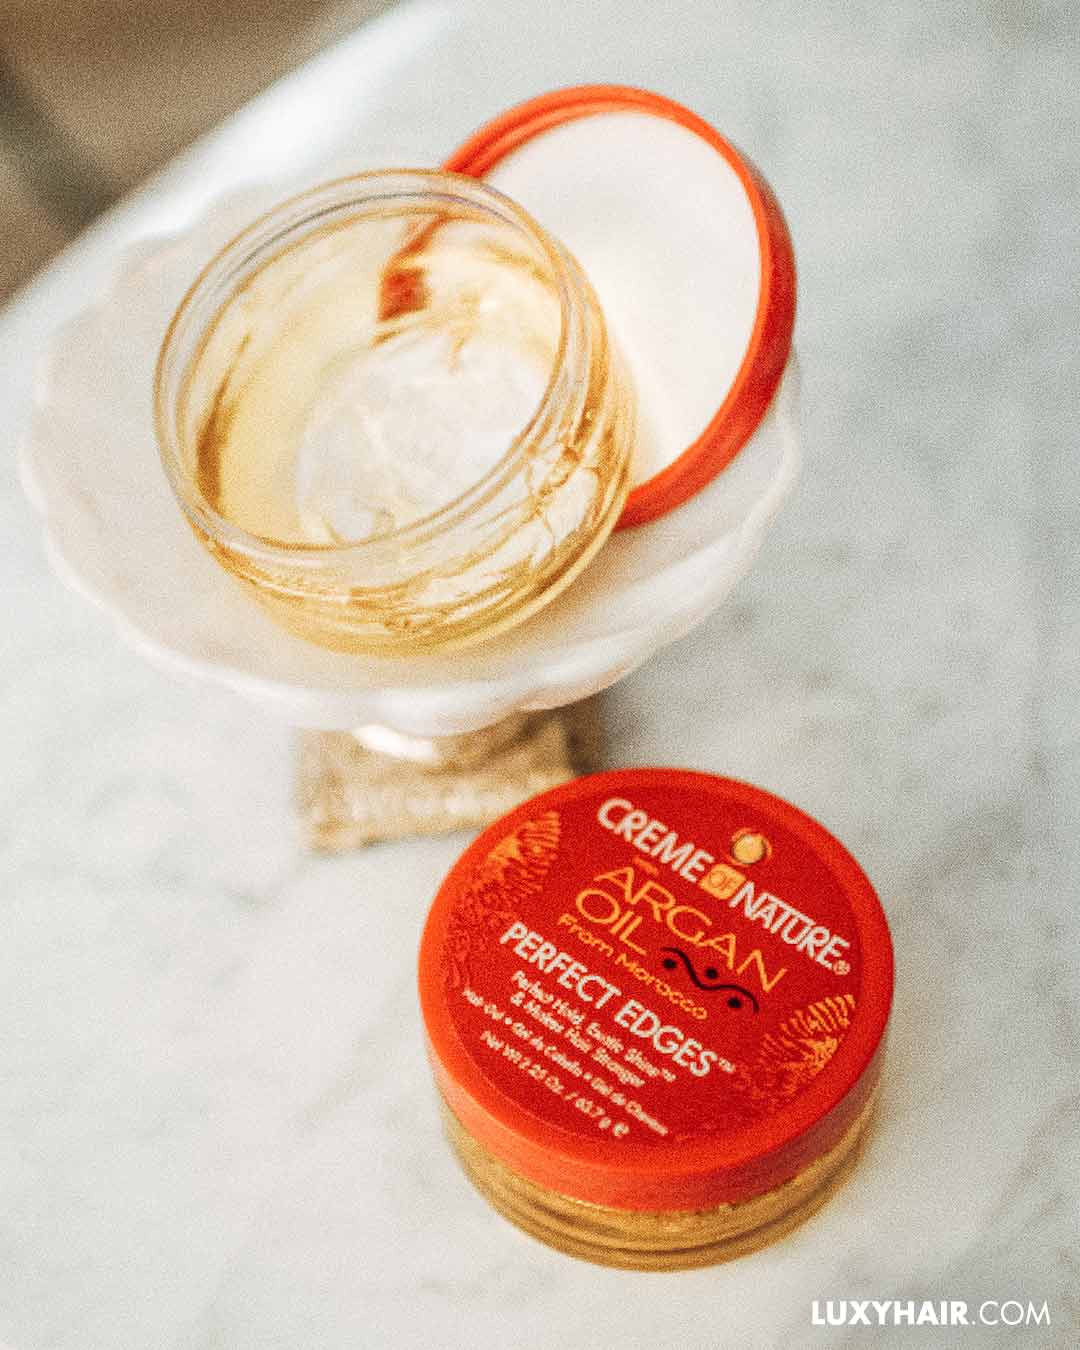
Once you get towards the end of your real hair, it's time to feed it into the braiding hair. No good braid instal is complete without a great jam or paste to keep everything in place. To add shine and memory to your braids, use cult-favourite gel SoftSheen Carson Let’s Jam. It adds control without the crunch and is safe to use on synthetic hair. Pro tip: Keep detangling your hair as you go, the smoother your hair is the longer the braids will last.
Step 6
Now that you only have two sections of hair for your three strand braid, split one of your two sections to make three again and continue braiding all the way down. Continue using edge control and gel to tame and lock the hair in place.
Step 7
Once all of your braids are done, seal the ends of the braids with hot water. To make your braids last and keep flyaways flat, we recommend using a few pumps of a foam mouse. One of our favourites is AllDay Locks & Braids Foam Control, because it provides a long-lasting hold and doesn’t flake.
Step 8
To complete the look, use edge control and an edges brush or toothbrush to lay your baby hairs. The key to a polished look is perfectly laid baby hairs.
Your braids are installed but your work isn’t over just yet. It’s important that you maintain your braids so that they stay frizz-free as long as possible. A satin bonnet, scarf, or silk pillowcase will protect your hair while you sleep. We also suggest getting an anti-itch spray like, Philip Kingsley Flaky/Itchy Scalp Toner, so that you don’t disturb your roots which will lead to frizz. Since you will be skipping shampoo for a few weeks we also suggest getting a scalp cleansing rinse that you can use while your braids are installed, which will allow you to maintain your protective style a bit longer. One of our favourites is Cantu’s Refresh Apple Cider Vinegar Dry Co-Wash, it has a combination of apple cider vinegar, tea tree oil, and shea butter, which will cleanse, condition, and nourish your scalp. Or you can also go the DIY route and make your own apple cider vinegar hair rinse.
Keeping your braids in for too long may be tempting, but it can cause breakage, matting, and buildup on your new growth. If you want to stretch your time, we suggest getting the hairline and nape redone around the six-week mark.
When it’s time to take your braids out, the worst thing you can do is rush. Make sure to set aside enough time for the process so that you don’t damage your hair. Here are the steps to uninstalling your box braids the right way.
How to remove box braids at home
Step 1
Spray your hair with warm water. The follow up with a detangling product, like Auntie Jackie’s Curls & Coils Not On May Watch Instant Detangler, to add some slip to your hair. Pro tip: Go in sections so that your hair doesn’t dry while you work through it.
Step 2
Begin from the bottom and move upwards. If you added extensions you can cheat by cutting the bottoms, but leave enough space to where your natural hair ends. Keep in mind your hair has probably grown so don’t cut off too much.
Step 3
Add some Detangler to your fingertips and slowly unravel the braids. Keep detangling your hair with a wide tooth comb or your fingers, always starting from the bottom and moving upwards.
Step 4
Once you’ve fully unravelled the braid to the root you will be able to remove the extensions.
Once your protective style is removed you’ll want to give your hair some TLC. Follow up with your hair care routine, make sure to give your hair a good scrub and lots hydration.
Written by: Phelisha Cassup