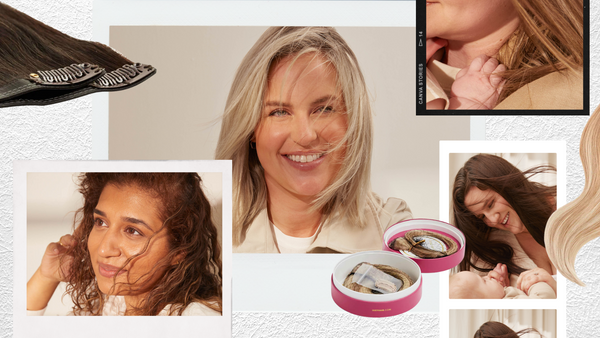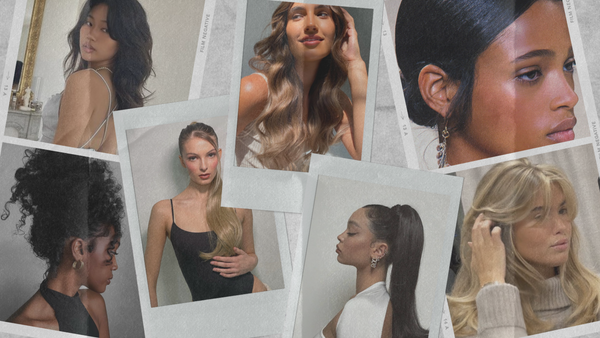
Ladies, we'd like to argue that one of the best feelings in the world is leaving the hair salon with a fresh blow dry. The way your hair bounces effortlessly with that beautiful, healthy sheen that lasts for days...we just love it! But have you ever gotten an epic blowout only to wash your hair a few days later and it's gone forever? Try as you might, you just can't seem to blow dry your hair like your hairstylist did, and you just can't recreate that salon blowout? We're here to help.
This week, Azra from Luxy Hair HQ shows you step-by-step how to do a blowout that will have your friends thinking you just left the blow dry bar every single time. Azra's demo is on short hair, but this technique can be applied to long hair as well. Check out the video below or follow along for step by step instructions:
What makes a salon blowout?
There are a few dead giveaways when a girl has had her hair professionally blown out.
1. The hair looks super healthy from root to tip.
2. The hair is lifted at the root and bounces effortlessly.
3. The hair is smooth and frizz-free.
How to do a blowout at home?
In order to master a professional looking blowout at home, all you need are the right tools, the right hair products, and a little bit of patience (and arm strength).

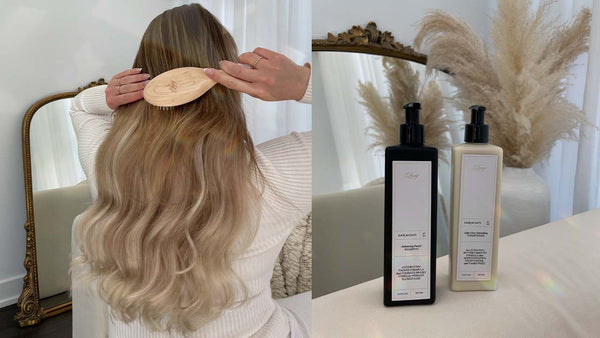
First, gather your tools
You will need the following:
- Alcohol and sulfate free shampoo and conditioner
- Deep conditioning hair mask
- Thickening spray
- Conditioning spray or leave in conditioner
- Texturizing spray
- Round brush (we like boar bristle brushes)
- Hairdryer
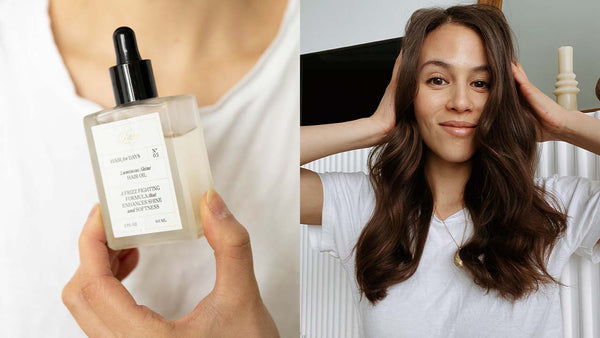
- Finishing / smoothing cream (optional)
Step 1: Wash your hair
You can't hope to blowout your hair like a professional hairstylist if your hair hasn't been prepped properly. So, be sure to wash your hair with an alcohol and sulfate free shampoo and conditioner. Then, apply a deep conditioning hair mask to your hair for at least 10 minutes to re-nourish the hair and make it soft, silky, and manageable to style. Here are our favorite deep conditioning hair masks, which you can actually make right at home!
Step 2: Prep your hair
Once your hair has been washed, apply a thickening or volumizing spray to the roots of your hair and work the product in. This will allow the hair to lift at the roots and give you that professional quality look. Next, apply a leave in conditioner to the ends of your for that extra boost of moisture.
Now for a little secret. The trick to getting beautiful airy texture in your hair is to spray your hair with a texturizing spray before beginning to blow dry. Weird, right? We learned this trick from our friend and celebrity hairstylist Michael Duenas and we can't get enough! Your hair will hold volume and texture with no sticky feeling once blow dried.

Step 3: Blow dry upside down
Notice how your hairstylist always blow dries your hair until it is almost dry before beginning to actually style the hair? That's because it is always best to style your hair from damp to dry rather than from wet to dry. This will help the style to hold once you are finished, as well as reduce the risk of breakage.
To prep your hair for styling, Azra likes to blow dry her hair upside down until it is about 70% dry, for mega volume. If crazy volume isn't your thing, you can simply rake your fingers through your hair while blow drying.
Step 4: The "pull and roll" technique

And now for the most important bit. Once your hair is 70% dry, you can begin the hairstylist technique of blowing out the hair with a round brush. The key to getting your hair looking big, bouncy, and smooth, is the "pull and roll" technique. You will be working in small sections throughout your whole head. The smaller the section, the better!
Start with your hairbrush at the root of your hair, and tightly work it into the hair. Then, as you blow dry, slowly pull your hair brush toward the end of your hair, following along with the hair dryer. Once you reach the end of your hair, roll the hair brush toward the root and pull toward the end of your hair again. Keep going with this technique until the section of hair is fully dry.
When blow drying, be sure to point the nozzle of the hair dryer downward toward the ends of your hair. This will ensure that the hair dries smoothly and frizz-free.
Step 5: Blast the roots with cold air
The trick to locking in a style is to let it cool. So, in order to keep that lovely lift at the roots, Azra turns the hair dyer heat to cold and blasts the roots with cold air for a second or two before moving on to the next section of hair.
Step 6: Repeat steps 3 and 4 throughout your head

Continue blow drying the rest of your hair using the "pull and roll" technique with your round brush. Once you start on a new section of hair, be sure not to touch the previous section, and to let the style set.
Step 7: The sides of your face
At this point, you may find that the hairs around your face are either a bit frizzy or not completely straight. Instead of turning to your hair straightener for these bits, take your round brush and wrap it tightly around the hair away from your face. The more taught the hair is pulled, the straighter it will dry. Then, blow dry these sections pointing away from your face.
Step 8: Face framing pieces
Have you ever noticed that the hair at the front of your face tends to lay very flat if you don't have bangs? In order to get the hair to lift and swoosh naturally, the trick is to blow dry this section upside down. Brush the hair forward, tuck your round bruch underneath, and blow dry the section from the top, pointing downward.
Step 8: Flip your hair back and show off!
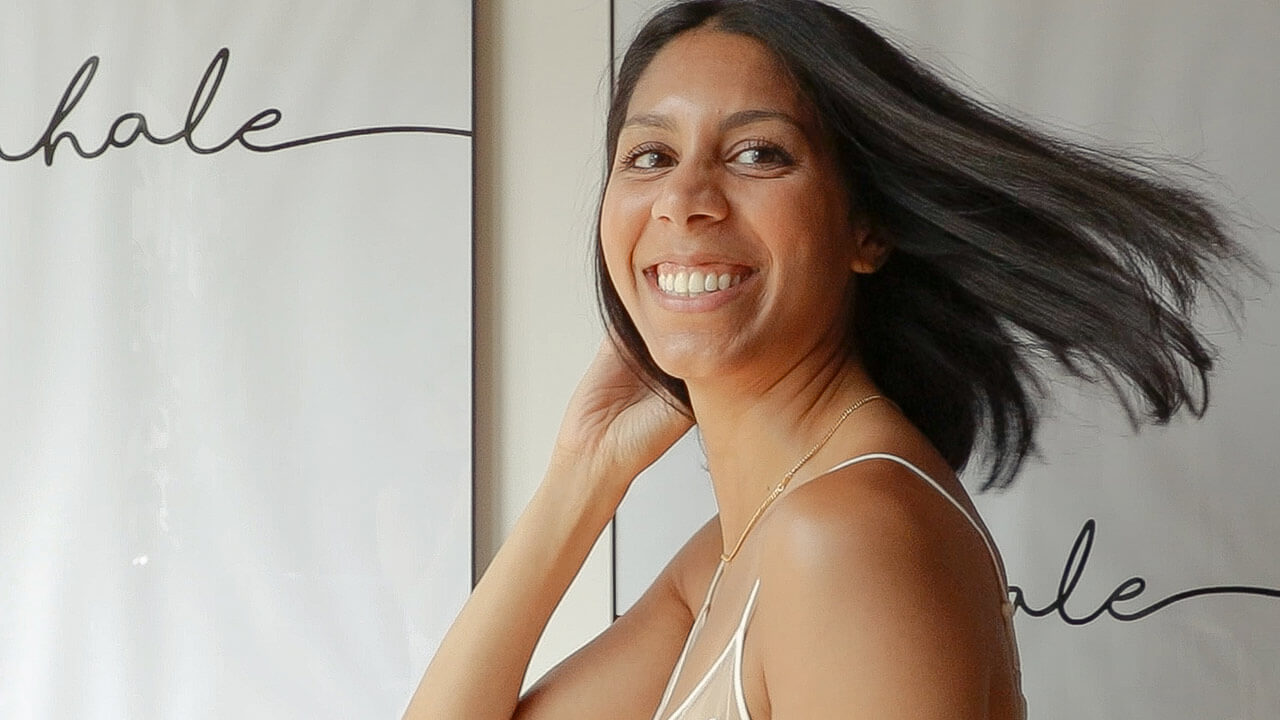
Once you've blow dried the front section of your hair, flip all your hair back and admire your beautiful, salon quality blowout!

As you can see, it doesn't take much to create this blowout – it's all in the tools you use and the technique for blow drying. With a bit of practice, this technique will become second nature to you and you'll be showing off your big, bouncy hair every day! If you'd like to add some curls or waves to your hair, click here for a tutorial on how to get big, voluminous hair.