Those of us with fine hair know all about the ridiculous amount of time that goes into reviving limp locks, whether it's by using the blow dryer, applying volumizing products, or bouncing hair up with curlers and combs. While these options definitely help, the only way to really add more hair to your head is by using hair extensions. If you have fine or thin hair and are looking for some guidance on how to add lush fullness and body with extensions, you've come to the right place.
Sometimes, it can be a little tricky to fully hide the clips of your hair extensions, especially if your hair is thinner. The clips can poke through your hair, may not clip in firmly due to the fine texture of your hair, or you may find that the extensions simply feel too heavy in your thin hair. The steps we share with you in this post, however, will help you blend your extensions naturally and seamlessly and add some killer volume to your style. Thin hair doesn’t have to stop you from getting the hair of your dreams!
*Important: If you are experiencing excessive hair loss or medical hair loss conditions, we strongly advise to consult with your doctor first, to discuss if wearing clip-in hair extensions is right for you.
Tip #1: choose the right extensions
Luxy Hair offers three collections: Classic, Seamless and Halo hair extensions.
Our Classic collection has a silk fabric stitched base with the clips hand-sewn to the base of each weft. If you have thin hair, we recommend to opt for our 160g set, which is specifically designed for thin hair. This set comes with 9 wefts of hair rather than the standard 10, and with less hair attached to each weft to ensure that the extensions are comfortable to wear without feeling too heavy. This set will blend in beautifully with your fine hair, giving you extra length and a bit of volume, while maintaining a very natural looking effect.

Our Seamless collection is bound with silicone rather than fabric, which means that the base of the weft is 50% thinner than our Classic wefts. This ensures that the wefts lay totally flat against your head so that your thin hair can glide easily over and hide them. The Seamless collection is available in a standard 180g weight, which also adds beautiful thickness to your thin hair, while remaining totally comfortable to wear. To use our 20” 180g clip-in hair extensions, your hair should be around shoulder length (at least 6-7 inches long). If your hair is on the shorter side, the 20” Seamless Clip in Volume Bundle (225g) will blend better.
When it comes to using hair extensions for thin hair, our Halo hair extensions are a great option. Our halo hair extensions sit gently on top of your head, secured with a flexible invisible wire. They are light, non-abrasive, and easy to take on and off. Since they are not bonded to your hair in any way, they are less likely to cause breakage or damage and are a great alternative for those with sensitive scalps.
Our Halo hair extensions come in both 20 and 16 inch sets. The full weight of the 20 inch extensions is 180g, including the 140g Halo weft and two 20g 2-clip wefts to help blend face-framing locks. The 16 inch Halo extensions weighs 110g, with two 15g 2-clip wefts included. Instead of having to clip in a set of 9-10 wefts throughout your hair, Halo extensions give you longer, fuller hair in seconds.
Halo extensions are best suited for those with thin to medium thickness and hair medium to long in length. However those with short hair can use the 20” Seamless Clip in Volume Bundle. If unsure of which product is right for you feel free to contact us via email [email protected] with some photos of your hair in natural lighting so we can provide you with a recommendation!
Unless you plan to blend the extensions professionally with layers, we recommend choosing a halo extension no more than four inches longer than your natural length. Seven different wire sizes are included, so you can easily fit the weft perfectly to your head. Here’s a step-by-step guide for getting instant volume with halo extensions:
1. Brush your hair
Brush your hair to get rid of tangles. Then, thoroughly brush out the Halo and each 2-slip weft with our Loop Hair Extensions Brush or a wide-toothed comb. Loop brushes feature unique looped bristles, allowing them to glide easily over wefts without pulling or getting caught.

2. Apply a volumizing dry shampoo
Applying a volumizing dry shampoo to your hair before putting on extensions will help them stay in place. Unlike hair spray, it will not leave your hair feeling sticky. Take one-inch sections of hair and hold the can 12 inches away, carefully spraying the root area to create maximum volume.
3. Section hair
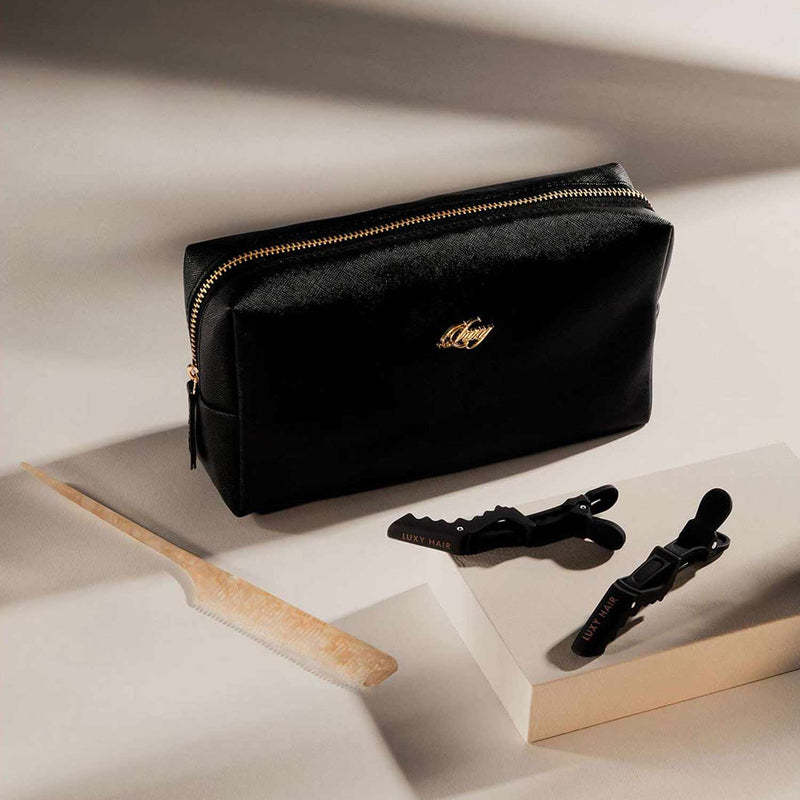
Section off hair at the crown and secure it in a bun on top of your head. Leave out some front pieces of hair to ensure a more natural blend. Our best-selling application kit includes a rat tail comb and alligator hair clips which makes sectioning your hair a breeze.
4. Apply the Halo weft
Select the wire size that best fits your head and then position the halo over your bun. Just like a headband, the wire should fit comfortably and securely above your ears.

5. Secure the 2-clip wefts
To help keep the Halo wire secure, attach each 2-slip weft on either side of your face. They should rest at the temple, about two inches above the ear. Once the clips are attached, you should be able to whip your hair back and forth without worry of the extensions moving or falling out.
6. Blend for va-va-voom volume
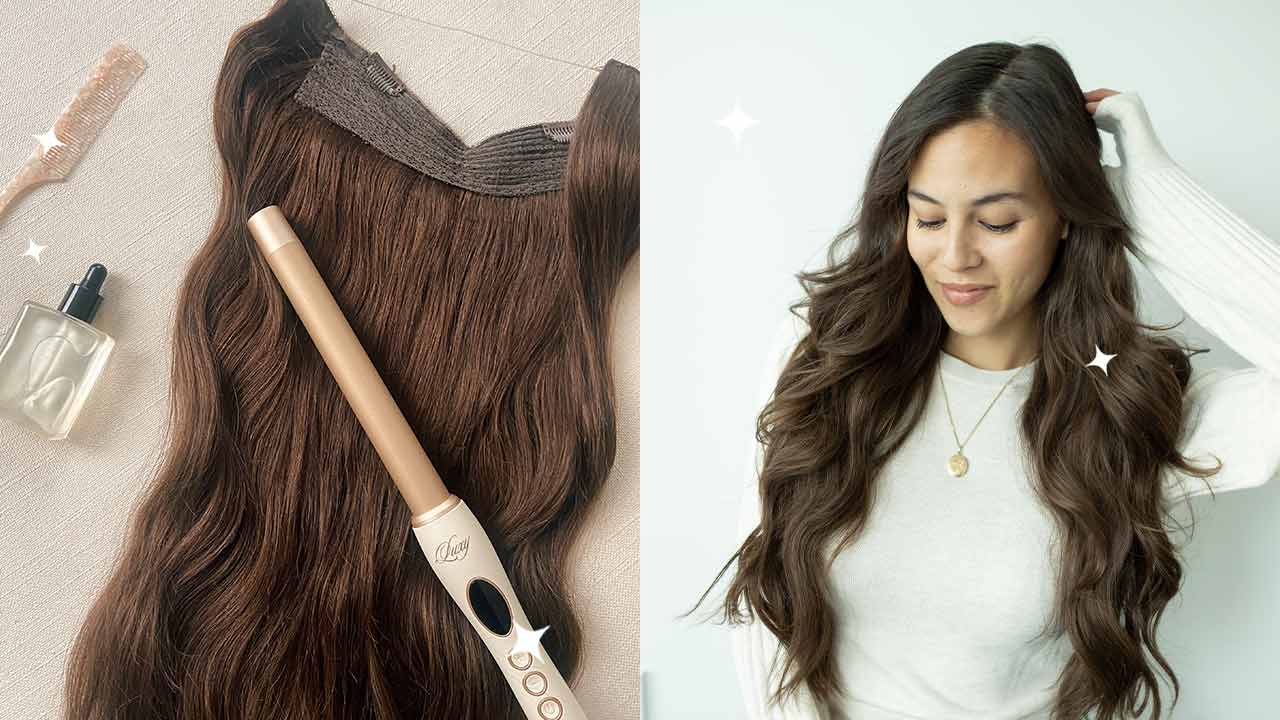
Take out your bun and let hair fall, ensuring it completely covers all the wefts and Halo wire. The Halo extensions will be held in place by the weight of your own hair. For an extra dose of volume, use our Signature Hair Curler to style and blend hair, finishing off with a volumizing or texturizing spray. You can also keep a compact mirror on hand in case you need to do any hair touch ups while on the go.
Tip #2: make a solid base for the wefts
You may find that your Luxy Hair extensions slip or slide throughout the day if you have thin hair. In order for the weft to have something to hold on to without sliding, it is important to create a firm base to which you will clip the weft. This will help secure the in place in your thin hair and prevent tugging. You can create this base by applying a small bit of hairspray to the root of the section to which the weft will be clipped on, then teasing the hair.
Tip #3: Find the safe zone
A very important step when clipping in your extensions is figuring out what your 'safe zone' is. This is the area on your head where the clips will not be seen. Usually, for fine hair, the safe zone is anywhere below the line of your eyebrows. Draw an imaginary circle around your head from one eyebrow to another; anywhere below that circle is where your wefts are going to be clipped in.
Tip #4: Position your wefts
While there is a general sequence in which extensions should be clipped in, the fact that we all have different hair types, head sizes and shapes means there is no one right way to do it. Play around with the wefts and find what positioning works best for you. Thin-haired ladies especially need to pay attention to the top of the head, to make sure that the wefts aren't peeking through (remember the safe zone!)

Tip #5: Choose your wefts
Sometimes, you won't need to use all the wefts, and that's absolutely okay. If you're struggling to find space on your head for all the wefts, there is a good chance that you don't need to use all of them. Figure out which sequence works with what wefts, and only use those.
Tip #6: Tease your Crown
Once your hair extensions are clipped in, you will notice the difference right away in how much longer and thicker your hair feels (great feeling, right??) Naturally, it may be noticeable that you have more hair at the bottom than at the top of your head, due to the thinness of your natural hair. To make the blend look more natural, it's a great idea to tease your hair at the crown to add some volume to match the rest of your hair. This will give an overall harmonious, voluminous look.
To tease your hair, first add some texture by applying salt spray or hairspray and make sure any tangles are brushed out. Then, divide the hair into two sections using a comb. The top section should be much thinner than the bottom one and will not be teased.
Taking 0.5 inch sections of hair, you’ll pull it away from your head and then gently backcomb hair. Start about 3 to 4 inches from the crown of your head, moving from the bottom up. Repeat this process until hair is scrunched up close to the scalp. Be sure to add a finishing dose of hairspray and then gently comb the top layer of hair over the teased sections into the style of your choice.
Tip #7: layer your extensions
If your natural hair is layered, adding layers to your Luxy Hair extensions by a professional hairstylist can make all the difference! This will help the extensions blend in more seamlessly, creating a smooth transition from where your natural hair ends and your hair extensions begin. If you decide to get them cut, we recommend having them already clipped into your hair during the haircut. It will also be very helpful for you to come up with a numbering system for the wefts, so that you know exactly where each weft is supposed to be clipped in for the future uses.

Tip #8: style your extensions for maximum volume
Although Luxies look amazing with straight hair, wavy or curly styles can add volume and help hide the divide between your shorter, natural hair and the longer extensions. For best results, wrap your natural hair and the extensions together around the curling iron. This will help create a more blended, natural look. The direction you part your hair might seem like a small detail, but it can actually be the secret behind amazing volume. Part hair horizontally, and then curl 1.5 inch sections while lifting from the root to create a fuller style. Finally, add a bit of pizzazz with a cool hair clip.
Tip #9: Conceal hair thinning with a clip-in bun or ponytail
One of the best things about clip-in hair extensions is their ability to help you create a wide array of different hair styles, instantly. You can give your wimpy, lifeless pony a boost by putting in a clip-in ponytail, or add some volume with a clip-in bun. Your hair just needs to be long enough to tie into a ponytail or bun for the clip to attach. If you want to achieve the voluminous bun of your dreams, first put your natural hair up in a bun and then install the clip-in bun using the tiny interior combs. Make sure to slightly tease the bun and create some fluffy volume before securing it with bobby pins.
With these tips in mind, you’re well on your way to having the thicker, fuller hair of your dreams. Our best hair extensions for thinning hair will help you achieve a natural look in seconds.
Looking for more hair advice and styling tips? Subscribe to our newsletter to step up your hair game.