Do you ever look at hairstyle tutorials and think "okay, that's pretty, but I'd never be able to do that"?
Honestly.. sometimes we feel the same way. But what's important to recognize, is that those 'complicated' hairstyles are simply just a mix of a bunch of easy techniques that are put together into one. And that being said - if you want to be good at doing hair - it's important to learn all those basic braid techniques in order to be able to create more complicated hairstyles :)
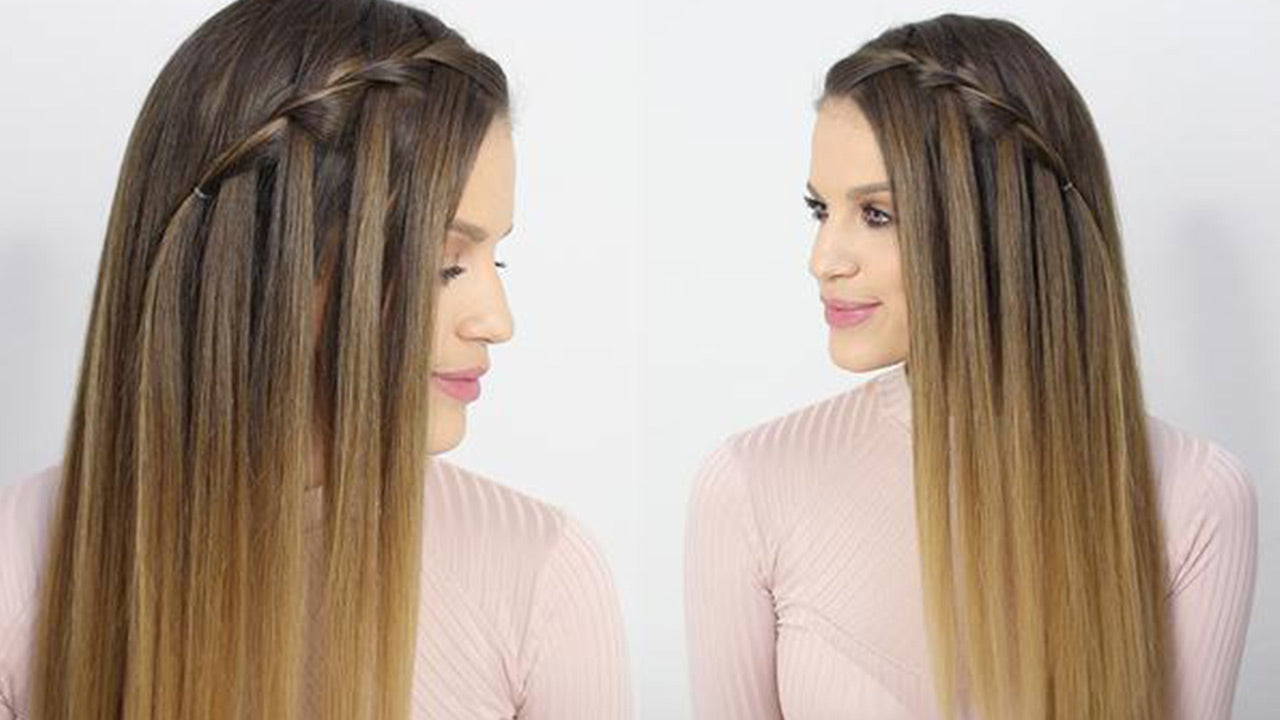
Today we are going back to basics and showing you how to do a waterfall braid step by step. At first this hairstyle may seem a little confusing, but with some practice, you will LOVE creating it. Once you've got this basic technique down - there are so many variations of this hairstyle that you can do. Watch the tutorial below or scroll down for photo step-by-step instructions on how to do a waterfall braid.
What are waterfall braids?
A waterfall braid is a half French braid in which part of the hair is braided and the rest is left to cascade down, like a waterfall. Because you may be used to creating full braids, the waterfall braid may look complicated or tricky, however, it simply takes a couple of repetitive steps to achieve! Continue reading below for step by step instructions on how to create a waterfall braid.
Waterfall Braid: Step By Step Instructions

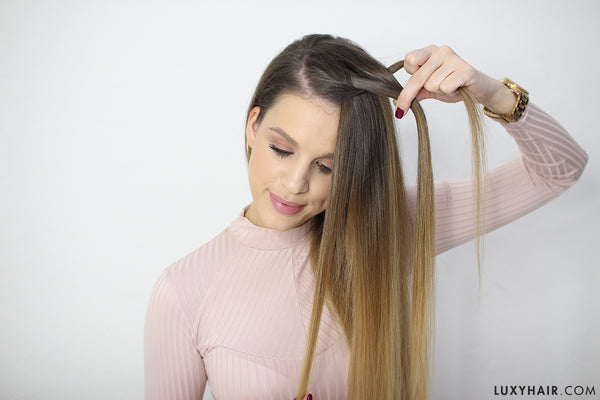
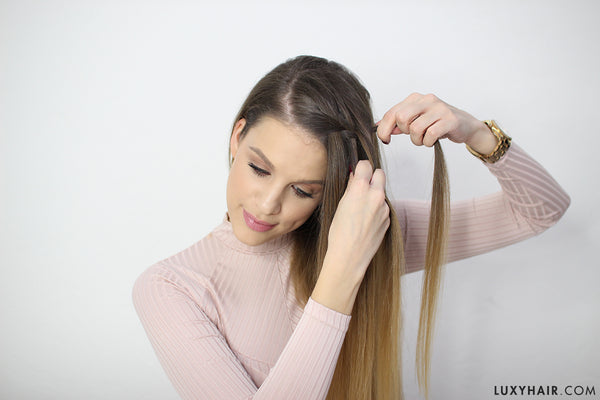
Step 1:
Take a big section of hair at the front and separate into three strands.
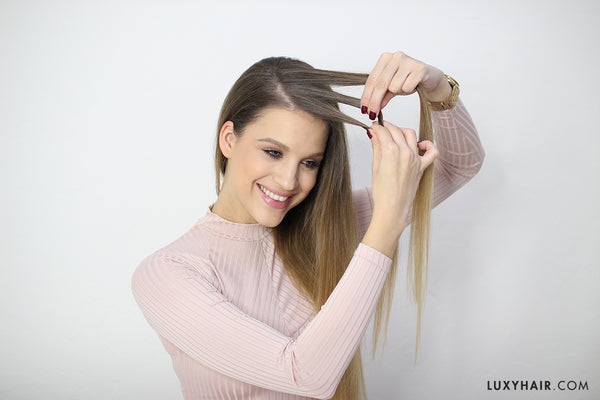
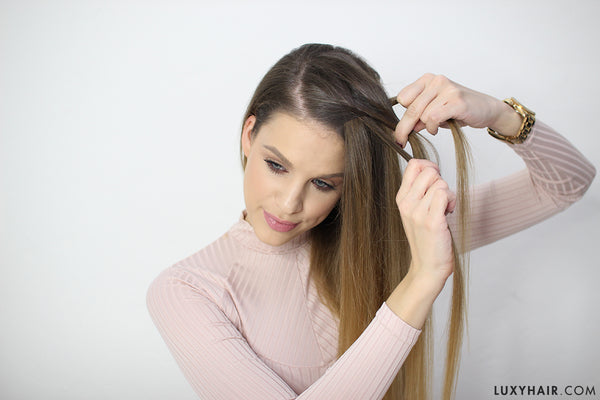
Step 2:
Take the back strand and cross it over the middle.

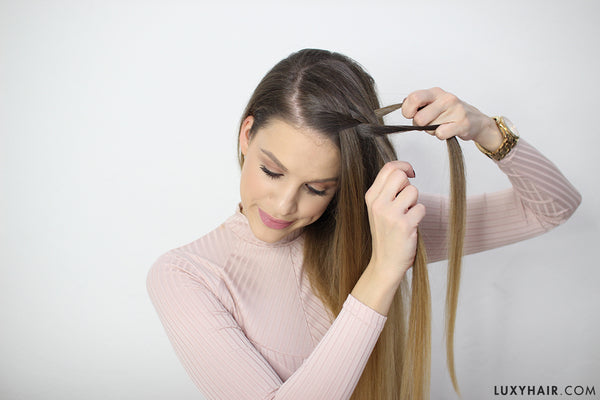
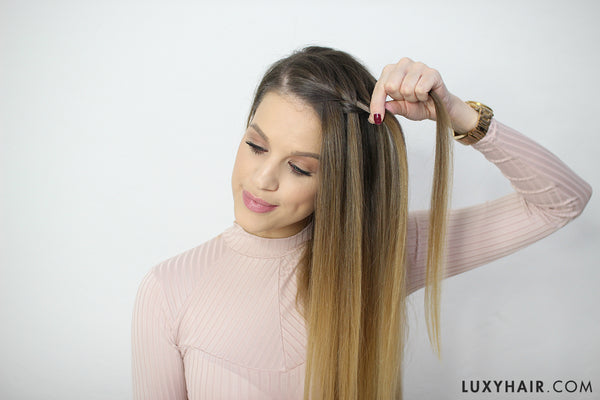
Step 3:
Now take the front strand and cross it over the middle.
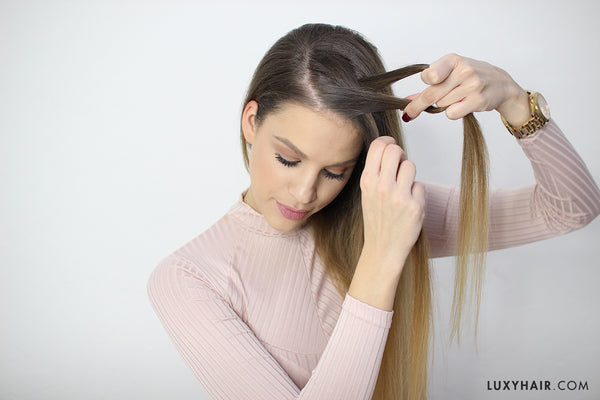
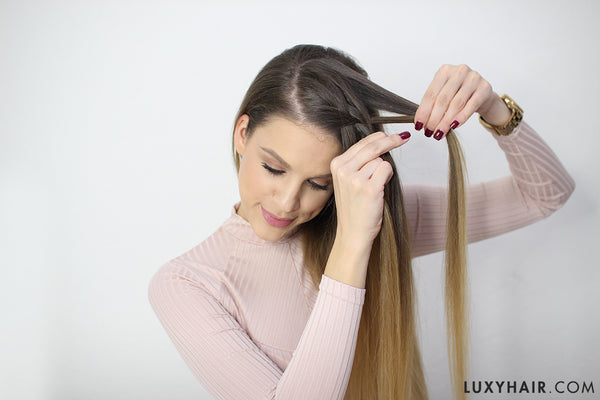
Step 4:
Next, take the back strand + add a little section of hair into it.
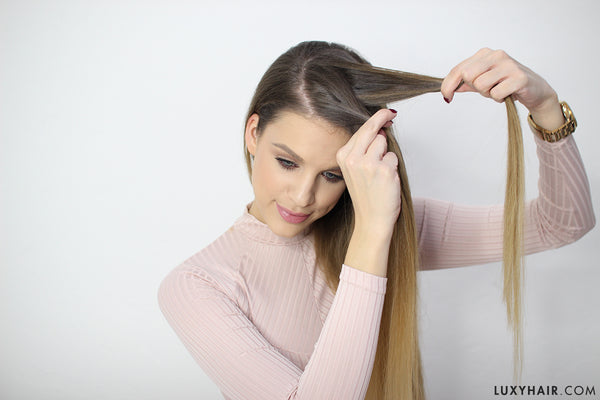
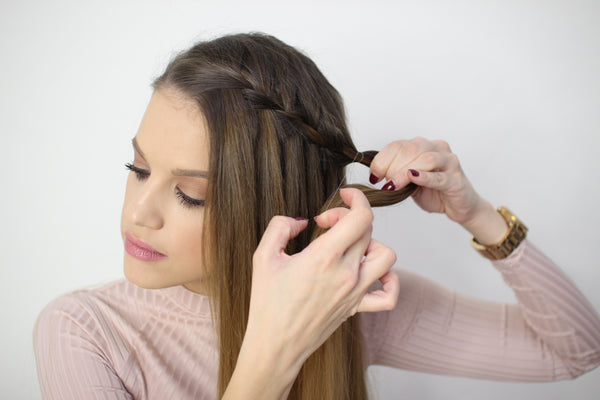
Step 5:
Cross this back strand + new section of hair over the middle.
Step 6:
Leave the front strand as is (you can even clip it away so that you don't get confused).
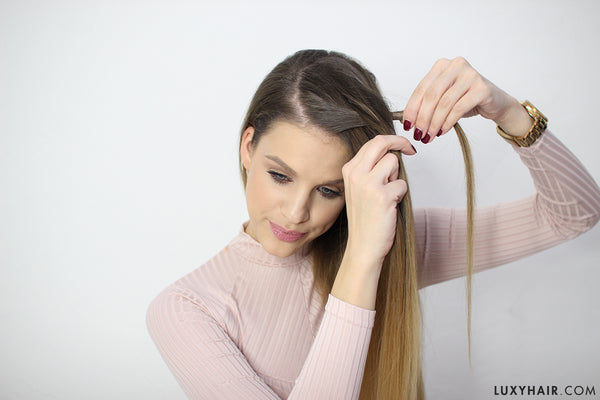
Step 7:
Take a section of hair BEHIND the front strand.
Step 8:
Cross this new section over the middle.
Step 9:
Repeating the same steps - take the back strand + add a new section of hair into it.
Step 10:
Cross that back section + new section of hair over the middle.
Step 11:
Again, leave the front strand as is and take a section behind it to cross over the middle.
Last Step:
Repeat all the same steps all the way to the back of your head and secure it with a clear elastic.
All done!
The waterfall braid is a classic hairstyle that looks absolutely stunning and unique.

Thank you to our beautiful friend Karin for collaborating with us on this Back to Basics series. Check out Karin's channel here.
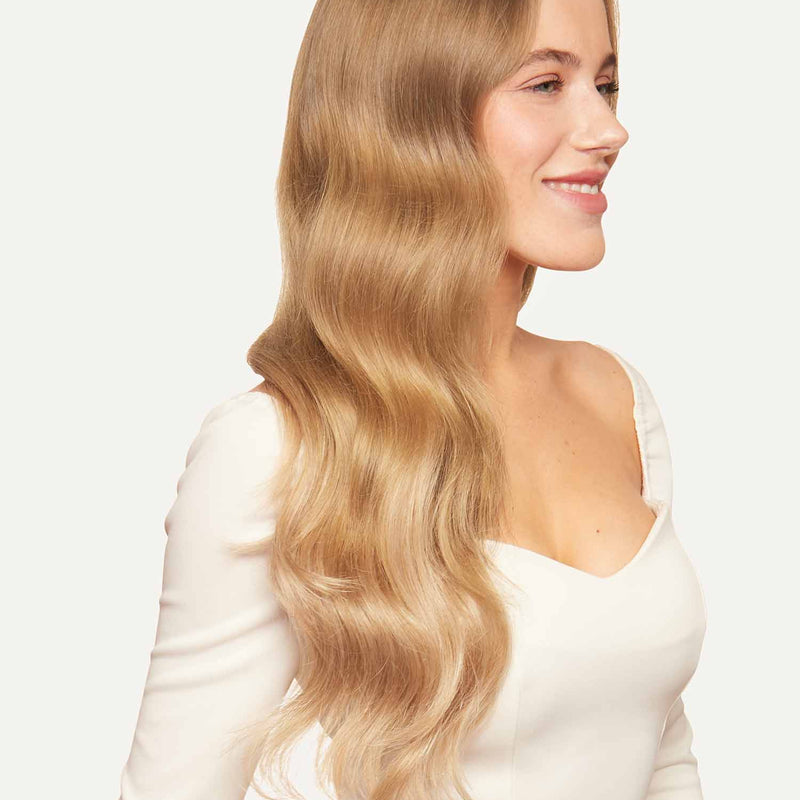
Karin has beautiful long hair already, but when she feels like adding volume and highlights to her hair, she wears her Dirty Blonde Luxy Hair extensions. You can also have long, thick, and beautiful hair in just minutes - with absolutely NO damage - by simply clipping in Luxy Hair extensions. Check out 10 reasons to choose Luxy Hair and to learn more about it!
Look out for more back to basics posts on our Blog :)