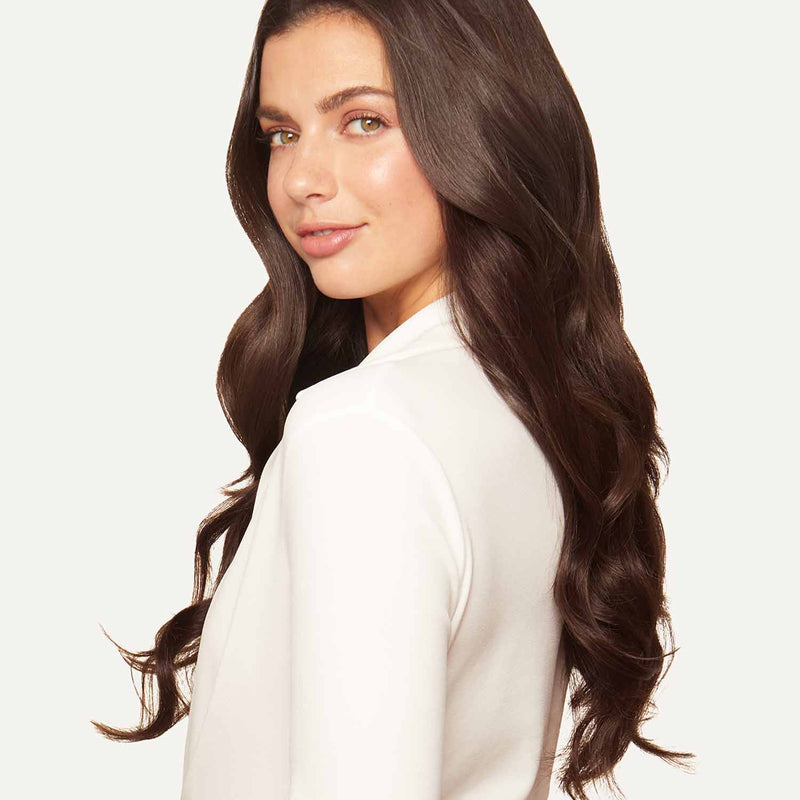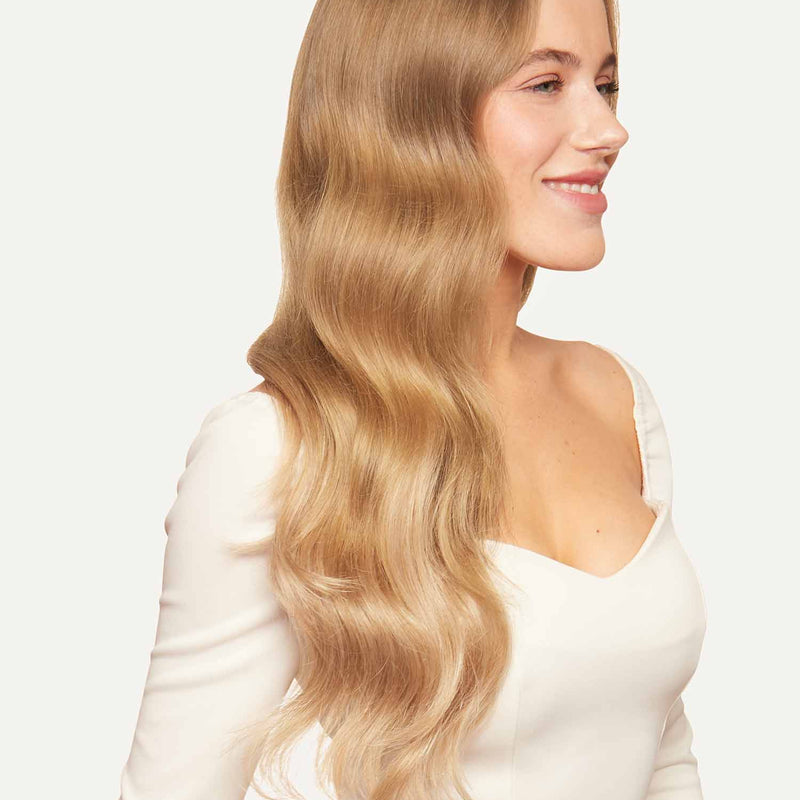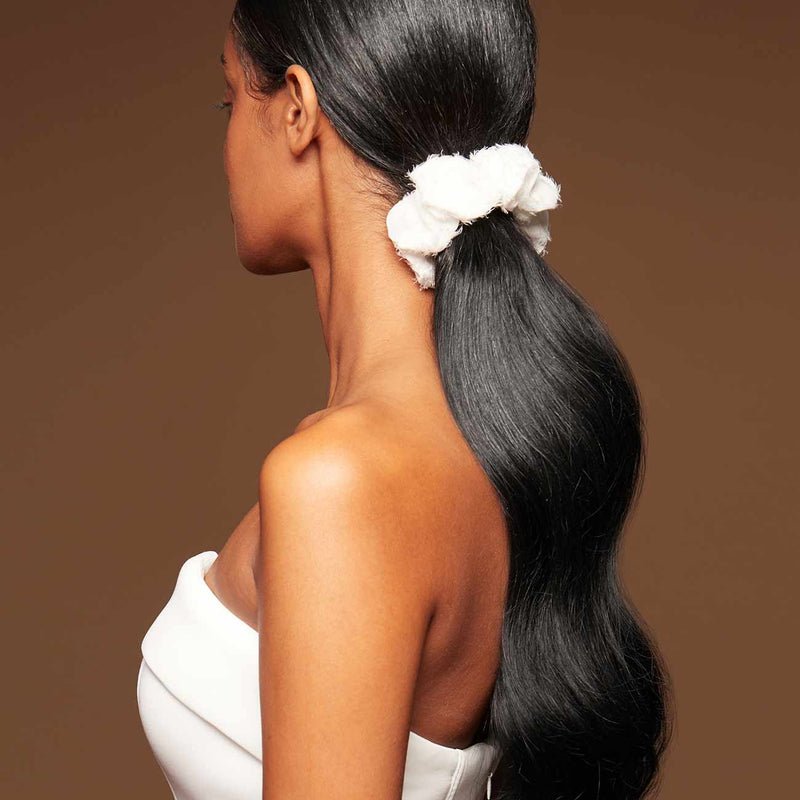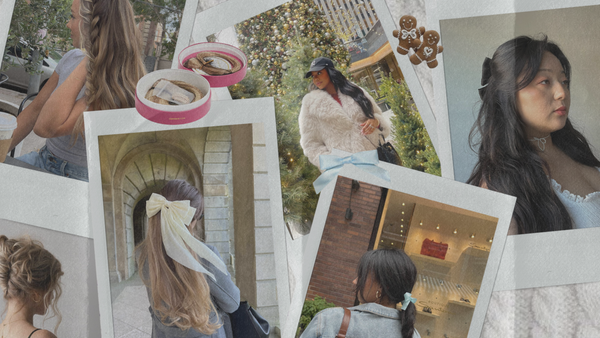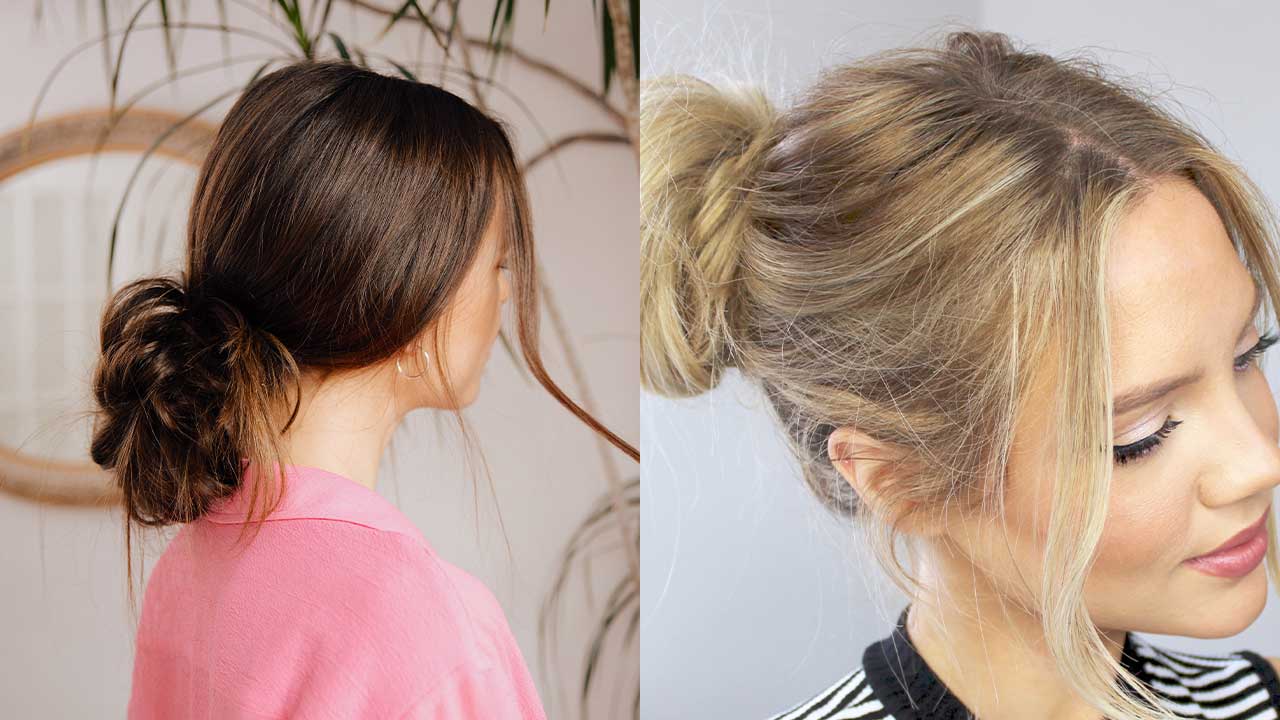
Raise your hand if the messy bun is your go-to hairstyle, on good hair days and bad. The messy bun is our MVP; a saviour for greasy third-day hair, a time-saving accomplice, and the ideal Zoom meeting hairdo, we’ve likely all experienced the messy bun’s transformative power. Whether you wear it to yoga class or throw your hair up in it for date night, it is the perfectly undone yet put-together hairstyle that helps you complete the look every single time.
Jeans and a cute top? ✔️
Classy little black dress? ✔️
Cute loungewear set? ✔️
Flirty summer dress? ✔️
Comfy hoodie and shorts? ✔️
Choose any of the above and we’ll confirm that the messy bun will almost always be an appropriate hairstyle choice.
How to do a messy bun
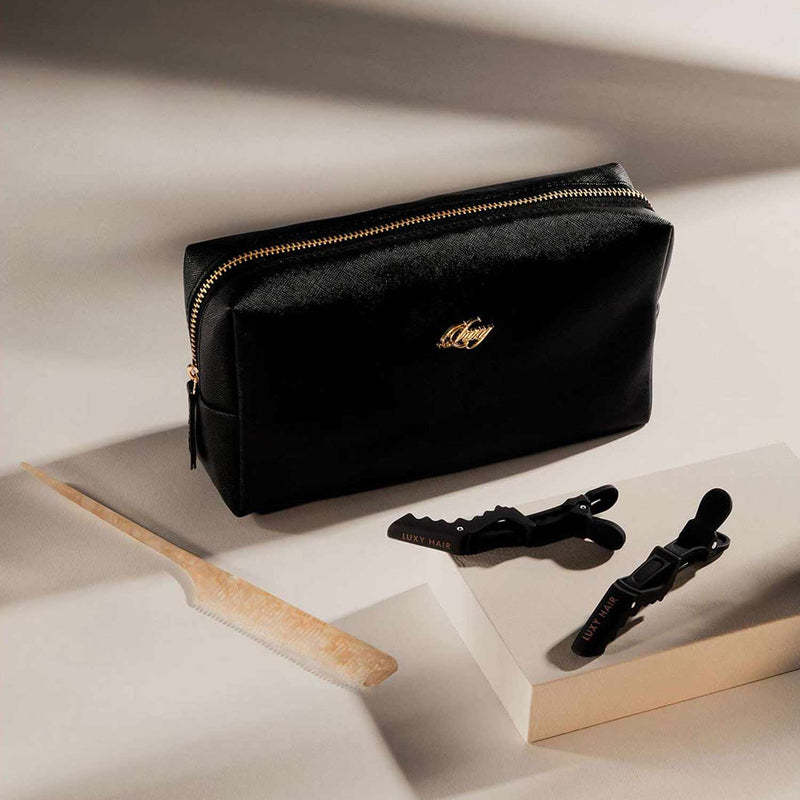
We have to admit...achieving the perfect messy bun does take a little bit of work. We know, the concept of a tutorial to get the perfect “messy” bun seems paradoxical, but trust us when we say, the little bit of work you put in gives this messy bun the stylish edge it deserves. If you’re willing to go an extra mile here and want some more volume in your regular messy bun, you can also consider adding hair extensions for that extra dose of oomph too!
Keep scrolling to see a few of our favorite tutorials on how to wear the messy bun with hair extensions and without.
1. 1-minute messy bun
Step 1:
Gather your hair up into a ponytail and hold it up
Step 2:
With an elastic in your other hand, spread your fingers onto the base of your ponytail; almost like a claw.
Step 3:
Holding the base, wrap the ponytail around your hand
Step 4:
With the other hand, pull the elastic over the half-bun you’ve created, still keeping your fingers clawed in, as you had earlier.
Step 5:
Twist the elastic and switch hands by pulling your hand out of the base of your ponytail.
Step 6:
Take the tail, and wrap it around the base of the bun. Then, wrap the elastic around the base to secure.
2. The Ballerina Bun
Step 1:
Gather your hair up into a high ponytail and twist the tail.
Step 2:
Wrap the twist around itself forming a coil
Step 3:
Then use your elastic to secure it all in place
3. The Inside-Out Bun
Step 1:
Start by gathering your hair up into a high ponytail and secure it with an elastic band.
Step 2:
Flip the ponytail upwards to create a loop over your hand.
Step 3:
Take two fingers and create a part right under the elastic, at the base of your ponytail.
Step 4:
Through the part, grab the tail of your ponytail and pull through.
Step 5:
Take the rest of the tail and wrap it around the elastic, securing it with bobby pins.
4. Messy bun with hair extensions
Step 1:
Leaving one layer of hair down a few inches above the nape of your neck, gather and tie the rest of your hair up.
Step 2:
Use a two-clip weft and clip it in upside down right above the part line.
Step 3:
Let the rest of your hair down and then pin it up again, leaving a thicker layer (including the first weft) down.
Step 4:
Use a three-clip weft and clip it the right way down, just below the part line.
Step 5:
Let your hair down and gather everything together into a ponytail.
Step 6:
Now, wrap and twist around itself forming a coil and secure it with an elastic band for a perfect messy bun!
5. Easy messy Half-Bun
Step 1:
Create a part at the top section of your hair, ideally starting at your temple and creating a part all the way around.
Step 2:
Take a comb and begin to tease the top section to create more volume. Start at the tips of your hair and then work your way towards the roots.
Step 3:
Twist all the hair into your desired bun, and secure with an elastic band.
Step 4:
Pull out a few face framing pieces and strands from the bun to create an effortlessly messy look. Once done, add in bobby pins to secure the look.
6. Quick and easy top-knot
Step 1:
Section your hair right above your ears, and clip the top half, up and out of the way.
Step 2:
Clip your weft upside down on the top section you created.
Step 3:
Section another piece of hair, just above the weft you clipped in and add a three-clip weft facing downwards.
Step 4:
Pull all your hair back into a sleek ponytail and brush through your ponytail to ensure your hair is covering the wefts.
Step 5:
Gather and twist all your hair in a tight manner, creating a coil around the base of your ponytail.
Step 6:
Once all your hair has been wrapped around, secure it with an elastic band and bobby pins.
7. Messy bun for curly hair
Step 1:
Put your hair into a loose ponytail, wherever you want to wear your messy bun. This can be high up at the top of your head or low at the nape of your neck.
Luxy Hair Style Tip: At this point, you can spray your hand with some hairspray and go over your head lightly to tame any flyaways.
Step 2:
Create a 2 to 21/2 inch section in your ponytail,and begin to twist it.
Step 3:
Holding the twist, grab one or two hairs at the tip and pull the rest of the section towards your head.
Step 4:
Grab a few bobby pins and secure it to your head.
Step 5:
Continue creating these sections and repeat this method until all your hair is up in a bun.
8. Voluminous bun
Step 1:
Section your hair at the point you want to wear your messy bun. At this part line, clip in a one-clip weft as well as a two-clip weft right on top of each other.
Step 2:
Creating another section right above, clip in 2-3 single wefts. Then section another part and add in another 2-clip weft.
Step 3:
Start tying your hair as if you were creating a ponytail, but on the last tie, only pull your hair half-way through, creating a loop.
Step 4:
Take the rest of your hair, twist it around the base and tuck it into the elastic.
9. A Truly Messy Bun
Step 1:
Keeping your hair extensions clipped in, create a low ponytail by tying your hair but only creating one loop.
Step 2:
Next, twist the hair tie, grab and tie the remaining pieces of hair, bringing it over the loop and securing it in place.
10. The high up messy bun
Step 1:
Take all your extensions out and flip your head over, creating a high ponytail.
Step 2:
Holding the base of the ponytail in place, start twisting at the ends of your hair.
Step 3:
Wrap it around the base of the ponytail you were holding and secure in place with an elastic.
[article handle="updos"
Styling the perfect messy bun
Tips to do a messy bun with straight hair
Detangle
Before you begin, make sure you brush out all the knots so you can tie your bun without any hassle. We know it’s called a “messy” bun, but to keep damage minimal and get a put-together look, it is essential to make sure your hair is completely knot-free.
Use texturizing spray
If you find your messy buns are too small, lay too flat or don’t have any body to them, use a texturizing spray to add more volume to your hair before you begin styling your bun.
Tips to do a messy bun with curly hair
Avoid the brush
Unlike the straight haired ladies, if you have curly hair, we suggest staying away from any kind of detangling tool. Use your fingers to gently brush out any knots and use the natural texture of your hair to create volume in your messy bun.
Pick the right hair tie
Your messy bun might look perfect, but the aftermath of using the wrong hair tie can cause dents in your hair and stretch out your curls. To navigate this smartly, use silk-lined scrunchies and thinner hair ties. Depend on the bobby pins equally to wear your hair up.
Tips to do a messy bun with wavy hair
Use third-day hair
If you can, try and avoid washing your hair for two or three days, before styling your messy bun. This brings a more natural volume and texture to your wavy hair, which will make the ‘messy’ of the messy bun come through more organically. However if you’re worried about greasy roots, grab some dry shampoo or dryer sheets to soak up that extra oil.
Keep the wraps loose
In order to keep your natural wave pattern intact and avoid damaging your hair, wrap your hair around the hair tie loosely while creating a messy bun or ponytail base. This will not only give it a naturally messy look but you will also steer away from causing any harm to your texture.